Showing posts with label honey. Show all posts

Friday, February 20, 2015

chewy vanilla granola bars


I loved those chewy granola bars as a kid.  They tasted so yummy, but really, they didn't help at all if you were hungry.  Eating 20 of them in a sitting would make you sick, but still wouldn't fill you up.  Not that I ever did that.  These granola bars have a similar taste, but they also have protein powder in them, so they can help those hunger pains during snack time.  I made these super simple, but you can always add mini chocolate chips or whatever else you want.  Want to know the best part about these?  They only take 30 minutes to make.  Plus, they're no bake, and a great snack to have kids help make.


The ingredients are easy items that you probably have in your kitchen anyway.  Vanilla protein powder, oats, vanilla extract, honey, butter, flax, and sugar.


In a small saucepan toss in the honey, sugar, and butter.  Stir them on medium heat just until they have liquefied and melted together.  Take off the heat and stir in the vanilla extract.


Liam insists on helping me cook regularly.  He's a pro at kitchen safety.


Pour all the dry ingredients into a large bowl and gently mix together.  Add in the wet ingredients and mix well.  It should be sticky enough to hold together, but not a wet gooey mess.


See above:  It should be just wet enough to hold together.  Note:  This makes great granola if you pop it into the oven on low on parchment paper to dry out a bit.


Lightly spray a 9 x 13 inch casserole dish with cooking spray.  Dump out the granola into it and firmly press it all down evenly.  Refrigerate for 20 minutes.  If you forget about it, that's fine.  20 minutes is just the minimum time.

Note:  Once you've pressed down the bars if you wanted to add mini chocolate chips, sprinkles, chopped nuts, coconut, etc. Now is the time to add it.  Just press down your topping of choice onto the bars and refrigerate.


Take out the pan and cut into 12 bars.
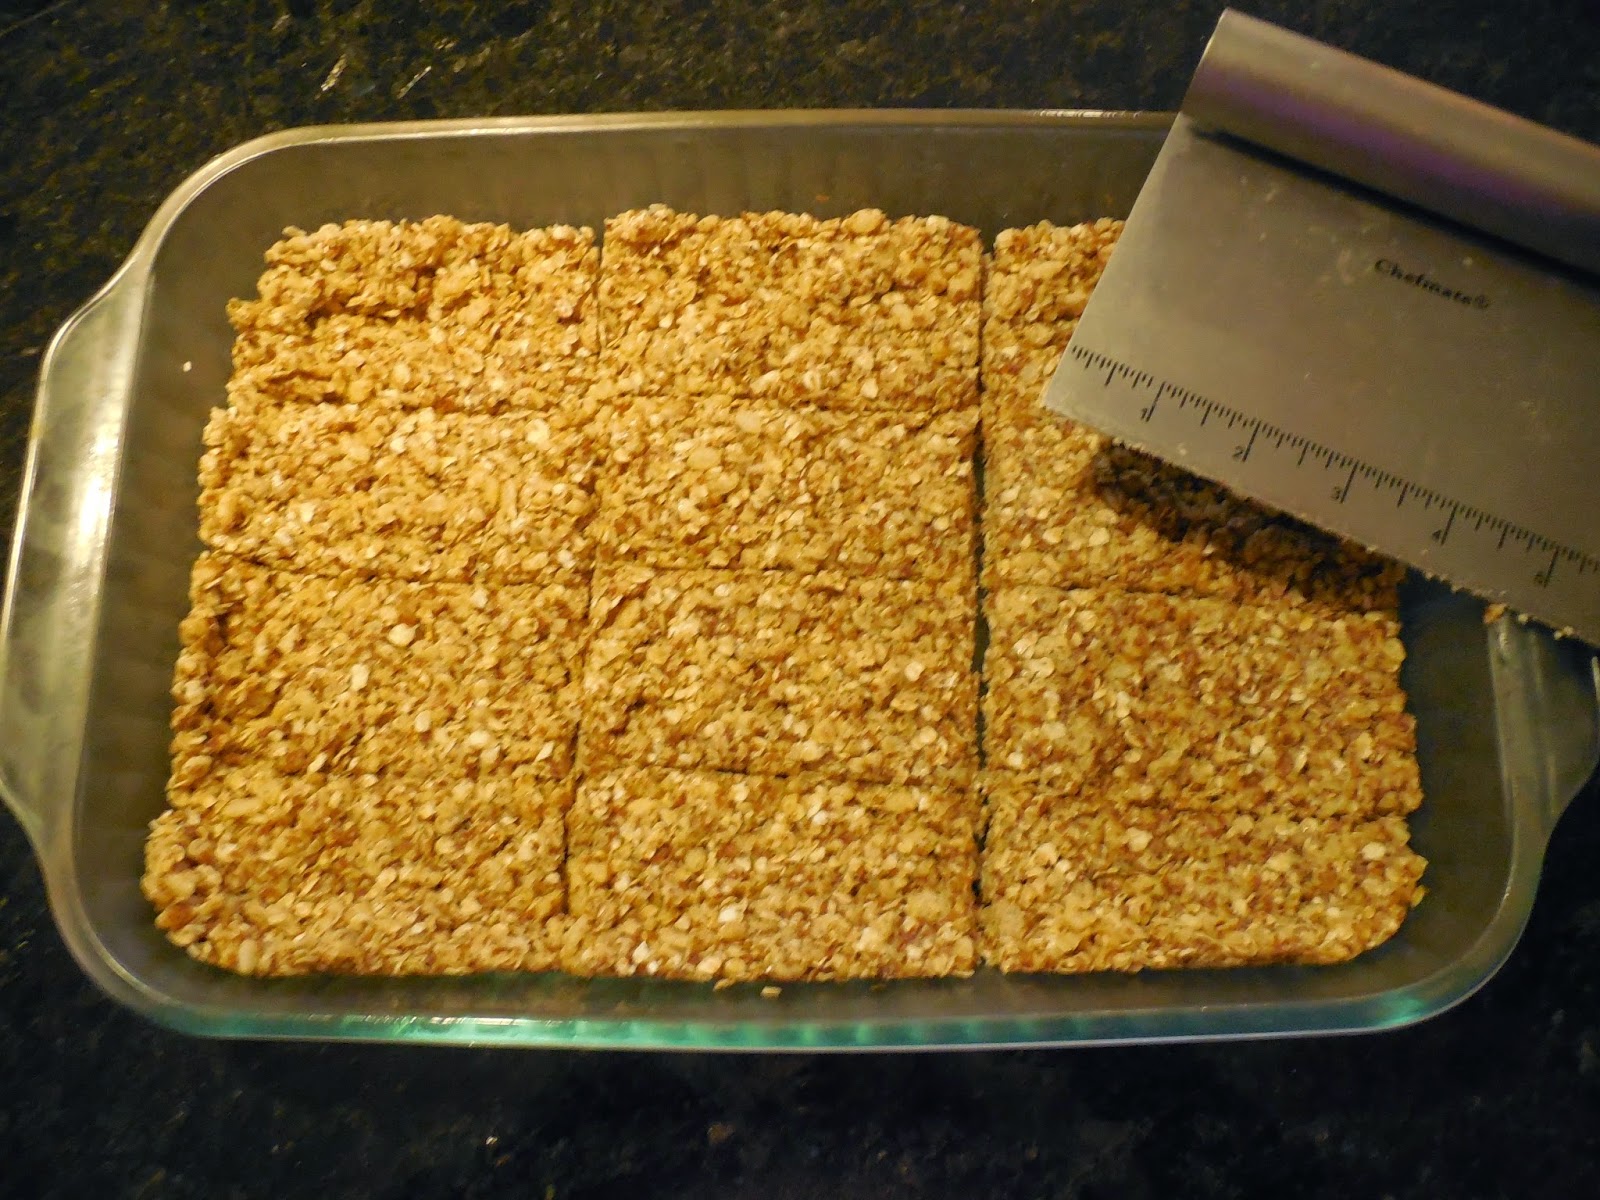

These granola bars fit perfectly into separate snack sized ziploc bags.


Package the bars and store them in the fridge if you want them to stay firmer and keep together better, or store on the counter if you want them a bit softer.


These do not last long at our house.  Jeff and Liam would eat them all in a single day if I'd let them.


Chewy Vanilla Granola Bars
makes 12

Ingredients:

  • 1/4 cup butter (if using unsalted, add a pinch of salt to the wet ingredients)
  • 1/4 cup + 3 tbsp honey
  • 1/4 cup sugar
  • 2 cups oats
  • 1 scoop vanilla protein powder
  • 1/2 cup flax
  • 1 cup crispy rice cereal
  • 1 tsp vanilla extract
Directions:

  1. In a small saucepan on medium heat stir together the butter, honey, and sugar.  Once they have melted together take the pot off the heat and stir in the vanilla extract.
  2. Mix dry ingredients together in a large bowl, then add the wet ingredients from the pot.  Make sure everything is well mixed, and sticky enough to hold together without being a gooey mess.
  3. Lightly spray a 9 x 13 casserole dish with cooking spray and empty bowl contents into it.  Press mix down firmly.  Add optional topping and press down firmly.
  4. Refrigerate pan for 20 minutes.
  5. Remove from the fridge and cut into 12 bars (3 x 4).  A single bar will fit perfectly into a snack sized ziploc bag.  Store the granola bars in the fridge if you want them to be firmer and hold together firmly.  Bars are fine stored out of the fridge, they will just be softer and might break apart.

Monday, August 4, 2014

honey lollipops and lozenges


The worst way to wake up is to have your toddler shake you awake and cough out, "Mommy, I'm sick."  I don't know about most toddlers, but Liam refuses almost all liquids when he's sick.  Yeah, it drives me crazy.  However, like all sugar obsessed little kids, he loves candy.  Honey lollipops and lozenges are great for kids with sore throats, and with only one ingredient they are a snap to make.


This looks a bit weird, but I was running low on honey when I made these (it was pretty spur of the moment) so I had to use two different containers of honey.  Hence the colors.  The darker blob is cinnamon infused honey and the light blob is a basic clover.  Anyway, add half a cup of honey to a saucepan and stir on medium high for about 10 minutes, or until the honey reaches 300 degrees using a candy thermometer.


In the meantime prep your candy molds, etc.  I only had one plastic mold in the size I wanted, but if you have more than one, great.  Spray it lightly with cooking spray.  I don't own lollipop molds, just the sticks (for cake pops).  If you want to free form lollipops like I did, place the top half of your sticks on parchment paper and anchor it down flat (I didn't but I should have).


Make sure to keep an eye on your honey and stir often to avoid sticking.


Pour the honey into the molds once it hits 300 degrees F.  It will pour fast and spread out so be careful to not fill your molds all the way full.


 I free formed my lollipops on a bumpy surface.  They are the world's ugliest lollipops.


It should take 5 minutes or less for your candy to harden and cool to room temperature.  When this happens, pop them out of the molds and break off any ugly or sharp edges.


The lollipops and lozenges should be hard, cooled, and very shiny.  Wrap them individually to avoid them sticking together.  I used cut squares of saran wrap and stored them in a tupperware container in my pantry.


Liam loved the added cinnamon flavor mixed with the honey, and his cough went away the next day.

Note:  If you or your child thinks the straight honey tastes too strong, you can add in some corn syrup to tone it down.


print recipe

honey lollipops and lozenges
these are great for any age 1 year and up to stop coughs, sore throats, or just to enjoy.
Ingredients
  • 1/2 cup honey
Instructions
1. Pour the honey into a small saucepan and stir on medium high heat for about ten minutes until the honey reaches 300 degrees F on a candy thermometer. 2. Meanwhile prep candy molds lightly with cooking spray and /or set out lollipop sticks on a piece of smoothed parchment paper.3. Take the pot off the heat and pour the hot honey into the molds or onto the top of the lollipop sticks. Do not fill the molds entirely as the candy will spread out a bit. Wait about 5 minutes for the candy to harden and cool completely. Then pop the candy out of the molds, break off any sharp edges, and wrap individually to avoid the pieces sticking together. Store in a airtight container in the pantry. These keep indefinitely.
Details
Prep time: Cook time: Total time: Yield: 1 mold tray & 3 lollipops