Showing posts with label snacks. Show all posts

Thursday, August 13, 2015

double chocolate fig muffins


Try as I might, I just can't do these muffins in photos.  It's always difficult to capture the true yumminess of something when the chocolate makes them so dark.  I love these muffins.  They are dark, chocolatey, and fruity.


Want to hear something even better?  They're chock full of protein!  Each muffin has about 6 grams of protein in it.  This muffins are healthy (yes, they're still full of chocolate), yummy, and filling.  They are also approved by everyone at our house.

There is a very slight protein after taste, so if you REALLY are against that, just use more flour, less protein powder.  It's an even substitution.


Double Chocolate Fig Muffins
makes about 16 muffins

Ingredients:

  • 1 cup unbleached flour
  • 1 cup vanilla whey protein powder
  • 1 tbsp baking powder
  • 1 tsp baking soda
  • 1/2 tsp salt
  • 1 1/2 tbsp cocoa powder
  • 1 cup granulated sugar
  • 6 tbsp unsalted butter
  • 1 large egg
  • 2 tsp vanilla extract
  • 1 1/4 cup plain Greek yogurt
  • 1/2 cup mini semi-sweet chocolate chips
  • 3 large figs, diced
Directions:
  1. Preheat oven to 400 degrees F.  Grease your muffin tin.  
  2. In a medium bowl stir together the flour, protein powder, baking powder, baking soda, salt, and cocoa powder.  Set aside.
  3. Cream together the butter and sugar in a stand mixer.  Add in the egg and vanilla and mix again.  Mix in the Greek yogurt, then slowly add in the dry ingredients while mixing on low.  Do not over-mix.  The batter should be fluffy and light.  Gently stir in the chocolate chips and the diced figs.
  4. Evenly spoon the batter into the muffin cups and bake for about 20 minutes, or until an inserted toothpick comes out clean.  Let cool for 10 minutes, then remove from the muffin tin and let cool completely on a wire rack.
note: these muffins make a great healthy snack for kids.  If you want to make the recipe using mini muffins, bake for 16 minutes instead of 20.

Saturday, July 11, 2015

frozen yogurt tarts


I've been on a bit of a tarts kick as of late.  Can you tell?  I really wanted a healthier version, both for me, and for an easy snack for the kids.  These tarts are MUCH healthier than my previous recipe, and are mini sized (perfect for snacking!).

I got the recipe for the crust from Deliciously Ella.  I love her!  She's a super cute healthy girl from London.  A bit hippy for me sometimes, but great for easy, filling, low sugar, veggie recipes.  I had to alter her tart crust recipe a bit to suit me (and to account for the US measurements).

These tarts take about 45 minutes to make (plus freezing time), but you can make them the night or morning before you want them so easily.


These tart crusts only use 4 ingredients.  So simple.  Almonds, dates, coconut oil, and water.  That's it.  Really.  I like mine a little coarse, but you can grind them finer if you like.  I find the easiest way to make these is to cut the dates into small pieces and soak them in a small bowl with the water and (melted) coconut oil until they have softened a bit.

While the dates are soaking pulse the almonds in a food processor until fine.  Pour the almond pieces out into a medium sized bowl.  Now pulse the dates in the water and coconut oil until there are no remaining chunks.  Pour this out into the bowl with the almonds and stir together with a wooden spoon.

Preheat the oven to 325 degrees F and lightly grease a mini muffin tin.

Ball up pieces the size of half your thumb (as a rough estimate) and press them down in each mini muffin mold, pushing the crust out gently up near the tops of the mold.  I ended up with about 21 tarts.  Bake for 15 minutes, then move and let sit about 10 minutes.  Remove carefully and place on a wire rack to cool completely.

I know the darker than average crust color might concern some of you, but almonds and dates are dark before baked.  Don't worry.  Nothing is burned.


Place the tarts on a large plate or tray to prep for the freezer.


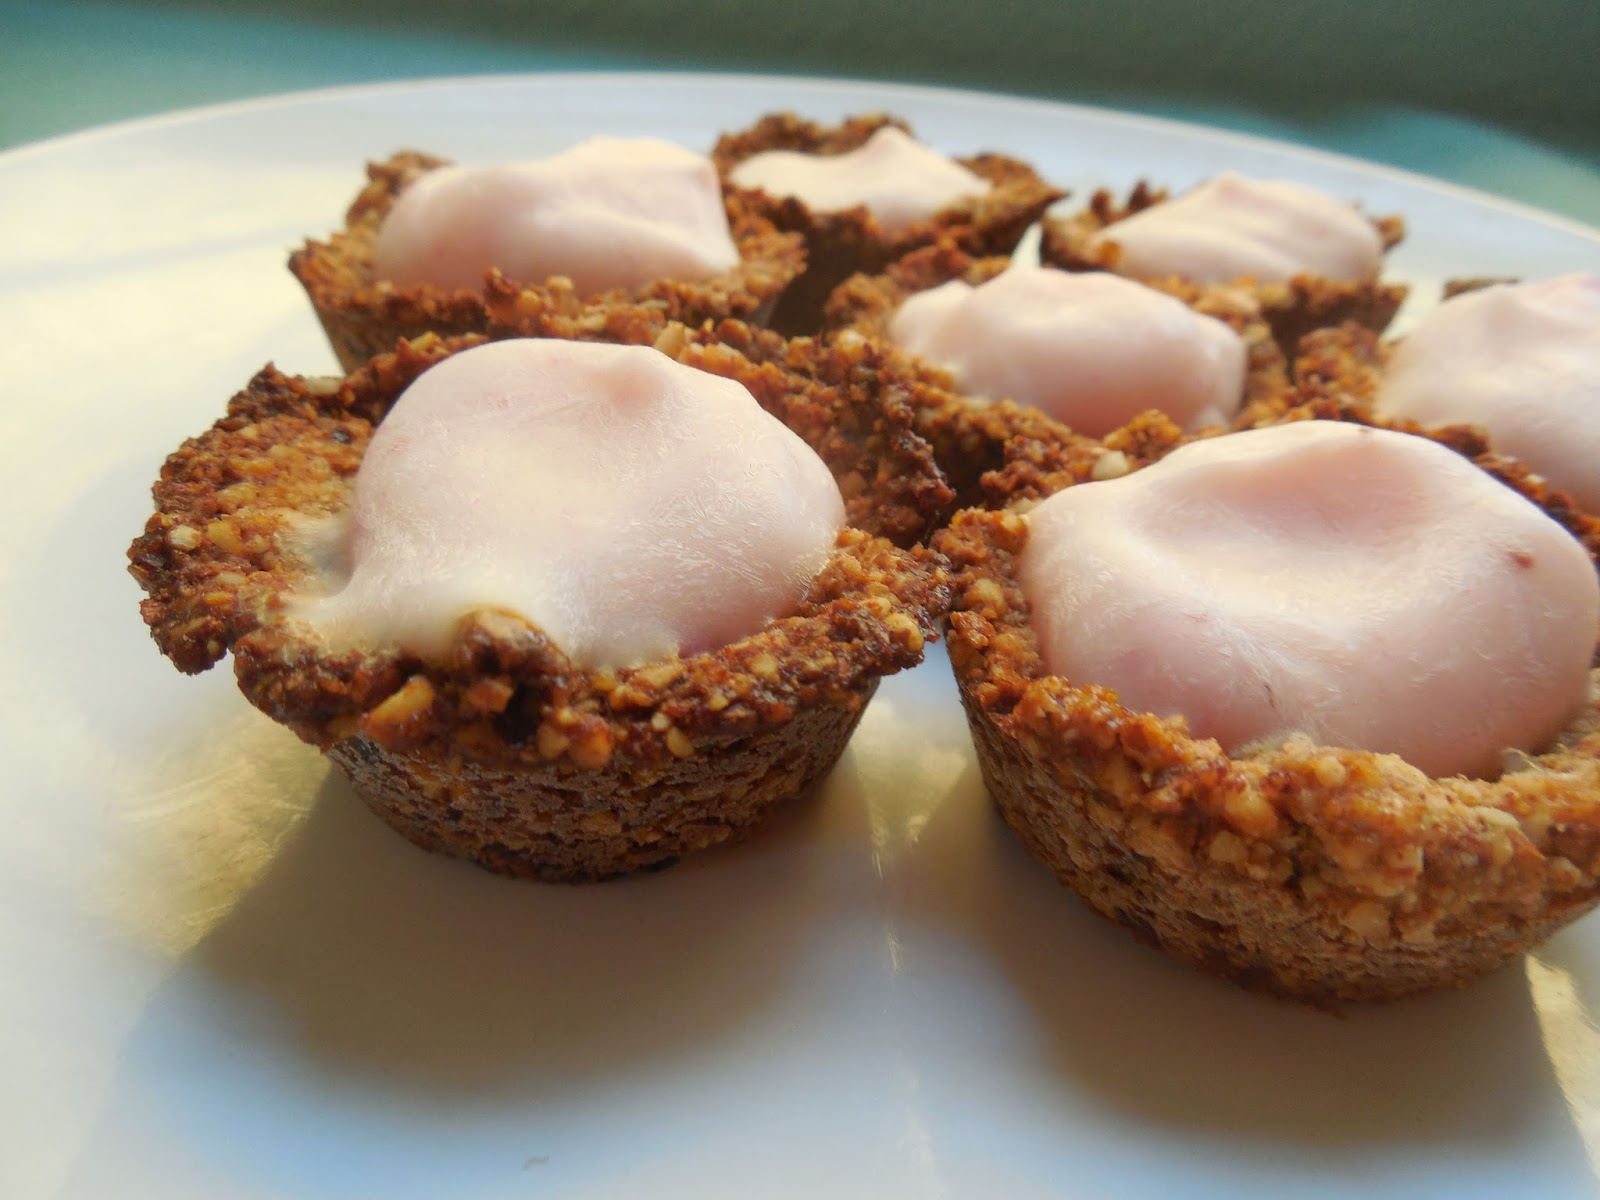
I had the PERFECT amount of yogurt in one container to exactly fill all my tarts.  Just spoon a dollop into the center of each tart.


Place the tarts in the freezer until the yogurt has firmed.  Freezing the tarts makes them so refreshing on a hot day, and there's WAY less mess for the kiddos!


Look at how pretty and simple these are.  You could eat them like this.  Or...


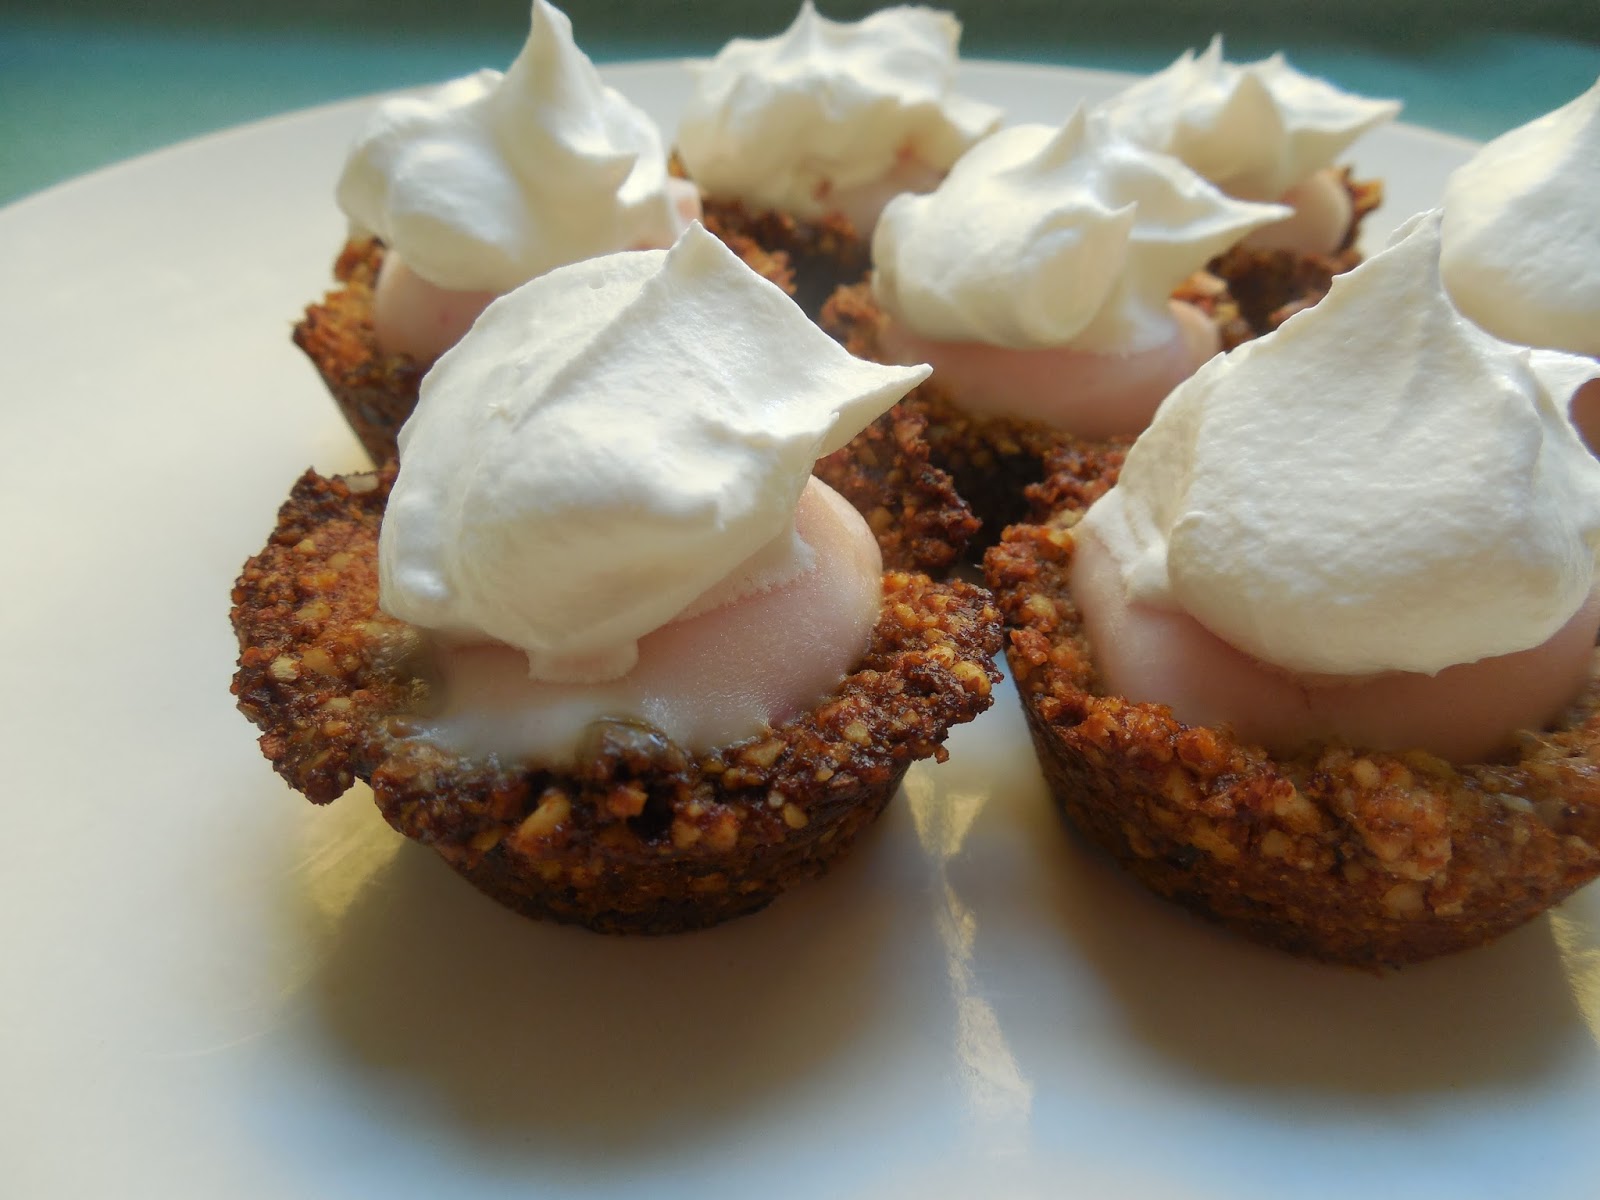
...you could spoon a nice dollop of lite cool whip on top of each tart.  Really, it makes all the difference in the world.  Now you have a still pretty healthy dessert that is great for hot days, good for kids, not messy, and perfectly bite sized.

Not enough reason to make these?  Well, they are also super easy to make, required very few ingredients, can be made in advance  Shall I go on?


In short these tarts are sweet, tart, nutty, chewy, refreshing, and creamy.  What's not to love?

You could even go one step further in telling yourself to make these by remembering that the ingredients include whole almonds and yogurt.  Very good sources of protein you know.

And cool whip not included, I happened to have all the other ingredients necessary already in stock.


frozen yogurt tarts
makes 20-22 mini muffin sized tarts

ingredients:

  • 7 ounces of whole almonds
  • 3 tbsp coconut oil
  • 2 tbsp water
  • 10 medjool dates
  • 1 container of strawberry yogurt (I used yoplait original)
  • lite cool whip
directions:
  1. Cut the dates into small pieces and place into a small bowl to soften with the coconut oil and the water.  While they soak grind the almonds in a food processor (coarse or fine, up to you).  Pour the ground almonds out into a medium bowl.
  2. Pour the date mixture into the food processor and puree.  Pour the mix out into the almond bowl and stir to combine with a wooden spoon.
  3. Preheat the oven to 325 degrees F and oil a mini muffin tin (24 muffin capacity).
  4. Grab crust pieces about half the size of your thumb and gently push into the base of each mini mold, then push up the sides evenly.
  5. Bake for 15 minutes, or until edges have darkened a bit.
  6. Remove from oven and let rest for 10 minutes before removing from the mold and letting cool completely on wire racks.
  7. Place crusts on a large plate or tray and gently spoon strawberry yogurt into the center of each tart.  Freeze the tarts.  
  8. Remove from the freeze and top each tart with a large dollop of lite cool whip.  Serve.


The crust recipe is a lightly edited version from Deliciously Ella.


Thursday, May 14, 2015

roasted BBQ garbanzo beans


These BBQ garbanzos are a great easy way for kids (large and small) to eat healthy.  They don't last long here (read: less than a day always).  Jeff in particular eats them like popcorn.  I like to sprinkle a few onto soups and other dishes as yummy garnish.

This last batch in particular lasted about 2 hours.  Often when I make these, I don't even bother to plate them nicely.  I just leave them in the pan on the counter and everyone knows to just come and grab handfuls.

Besides the ease of making this dish, its a great way to eat healthy and feel good.  Garbanzo beans are a great protein happy snack.


Add all the seasonings into a freezer bag and shake.  Add in two cans of garbanzo beans (rinsed and dried) and shake again.


Pour the bag contents out onto a parchment lined lipped baking sheet.  Try to get the beans into a single layer, they won't get crispy if they're all cramped and crowded!


I like to do a quick check before I bake these to make sure they are evenly coated.
Bake at 425 degrees F for 25 minutes, pull the baking sheet out to stir and mix, then bake again for 15 minutes.  IF you like them to be EXTRA crunchy add 5 minutes on top of that.  Remove from the oven and let cool at least five minutes before you start munching!

These are best eaten fresh for the crispiness, but will keep for at least a week.  If they last that long bake them again for just a few minute to bring back the crunch.  Store leftovers in an airtight container in a dry cool place.


roasted BBQ garbanzo beans
Ingredients:

  • 1 tsp paprika
  • 1 tsp garlic powder
  • 1/2 tsp seasoned salt
  • 1/2 tsp chili powder
  • 1 1/2 tbsp olive oil
  • 2 tbsp BBQ sauce (pick your favorite)
  • 2 15 oz. cans of garbanzo beans (I prefer low-sodium)
Directions:
  1. Preheat the oven to 425 degrees F.
  2. Add all ingredients except the garbanzo beans into a freezer bag and toss.
  3. Rinse and drain the garbanzo beans and add to the bag.  Seal the bag and toss thoroughly to combine.  
  4. Spread mixture thinly on a parchment lined lipped baking sheet and slide into the oven.
  5. Bake for 25 minutes, then stir and bake 15 more minutes.
  6. remove from the oven and allow the garbanzo beans to cool.
  7. Eat warm or cooled completely.  Beans are better (crispier) when fresh. Store leftovers in an airtight container in a cool dry place.

Friday, May 1, 2015

honeydew popsicles


I love Food Network.  It's the only show I miss after we cancelled our cable.  Luckily for me I have a subscription to Food Network magazine.  Yay!  Most of the recipes are pretty normal, but every once in a while I see one that I think is SO weird it can't possible taste good.  And so of course I have to try it out for myself.

I found a recipe in my most recent issue for several fruit sauces to top cheesecake.  Most of them looked pretty innocuous, but one for a honeydew-avocado sauce stood out.  The ingredients were few and the directions were speedy and straightforward.  I even had both a small honeydew and an avocado sitting out that I didn't know what to do with.  What had I got to loose?

I made the sauce easily just out of curiosity (I didn't have any cheesecake, but I thought I could maybe freeze the sauce until I made one).  It was a hot day, and the sauce seemed thick, sweet and juicy.  I immediately thought POPSICLES!  I was able to make 10 popsicles out of the sauce, and Liam loves them!  He keeps asking for more every day.  We have a strict one popsicle a day rule at our house, so he's got enough for a few more days.  I tried to take a photo of him smiling while eating one (he really likes them, I swear!) but between him being a bit of a serious kid and him eating his popsicle very seriously, I couldn't get the photo I wanted.

Why do I call these "honeydew popsicles" and leave the avocado out of the title?  Well, partially because you can't taste the avocado in them (speaking as a person who HATES them) they just help the popsicles become thicker and creamier, and partially because I don't want the title to scare people away from a good thing.  Try them.  You'll thank me!  And Food Network Magazine.


Honeydew-Acocado Popsicles
(recipe by Food Network magazine, frozen by me)

Ingredients:

  • 2 cups cubed honeydew melon
  • 1 small avocado (peeled and pitted)
  • 1/3 cup sugar
  • juice of 1 lime
Directions:
  1. Puree all ingredients together until smooth.If sauce is still lumpy, strain through a fine-mesh sieve with a ladle.  Pour into popsicle molds and freeze at least 2 hours.  
note: makes about 10 popsicles depending on the size of your molds.  Recipe makes 1 3/4 cups

Friday, February 20, 2015

chewy vanilla granola bars


I loved those chewy granola bars as a kid.  They tasted so yummy, but really, they didn't help at all if you were hungry.  Eating 20 of them in a sitting would make you sick, but still wouldn't fill you up.  Not that I ever did that.  These granola bars have a similar taste, but they also have protein powder in them, so they can help those hunger pains during snack time.  I made these super simple, but you can always add mini chocolate chips or whatever else you want.  Want to know the best part about these?  They only take 30 minutes to make.  Plus, they're no bake, and a great snack to have kids help make.


The ingredients are easy items that you probably have in your kitchen anyway.  Vanilla protein powder, oats, vanilla extract, honey, butter, flax, and sugar.


In a small saucepan toss in the honey, sugar, and butter.  Stir them on medium heat just until they have liquefied and melted together.  Take off the heat and stir in the vanilla extract.


Liam insists on helping me cook regularly.  He's a pro at kitchen safety.


Pour all the dry ingredients into a large bowl and gently mix together.  Add in the wet ingredients and mix well.  It should be sticky enough to hold together, but not a wet gooey mess.


See above:  It should be just wet enough to hold together.  Note:  This makes great granola if you pop it into the oven on low on parchment paper to dry out a bit.


Lightly spray a 9 x 13 inch casserole dish with cooking spray.  Dump out the granola into it and firmly press it all down evenly.  Refrigerate for 20 minutes.  If you forget about it, that's fine.  20 minutes is just the minimum time.

Note:  Once you've pressed down the bars if you wanted to add mini chocolate chips, sprinkles, chopped nuts, coconut, etc. Now is the time to add it.  Just press down your topping of choice onto the bars and refrigerate.


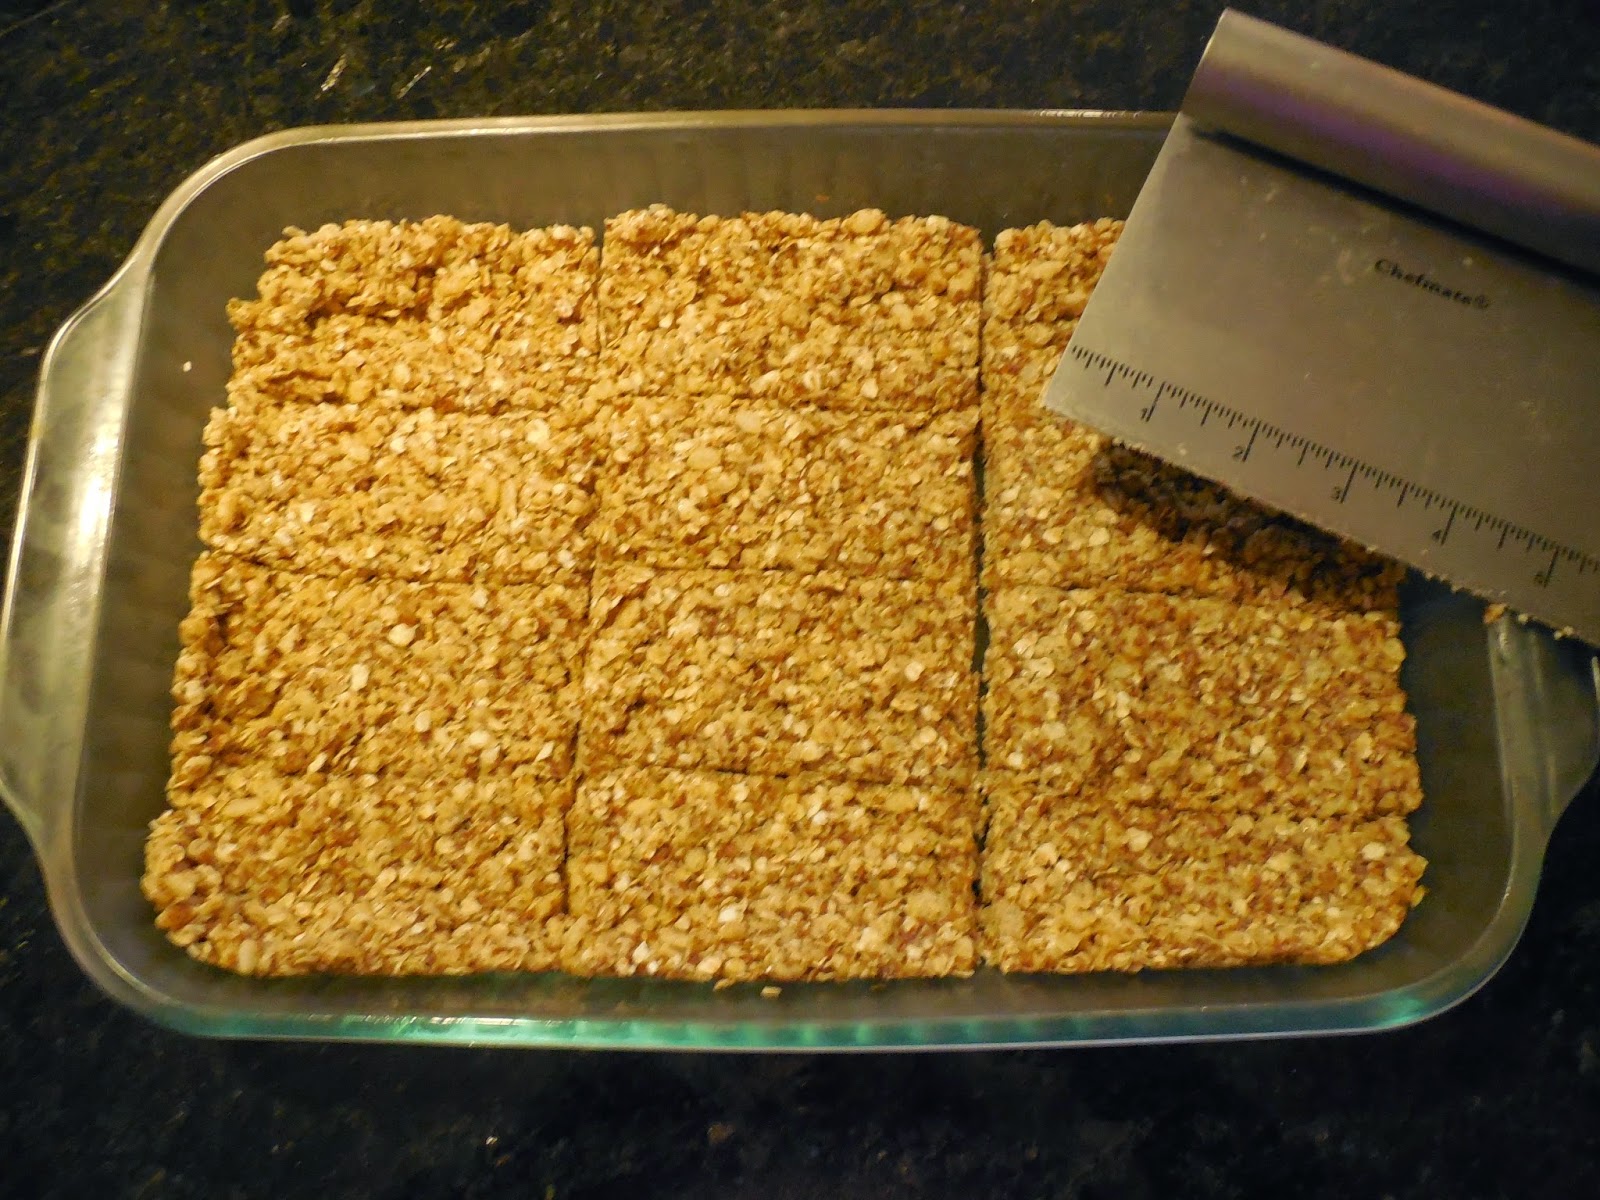
Take out the pan and cut into 12 bars.


These granola bars fit perfectly into separate snack sized ziploc bags.


Package the bars and store them in the fridge if you want them to stay firmer and keep together better, or store on the counter if you want them a bit softer.


These do not last long at our house.  Jeff and Liam would eat them all in a single day if I'd let them.


Chewy Vanilla Granola Bars
makes 12

Ingredients:

  • 1/4 cup butter (if using unsalted, add a pinch of salt to the wet ingredients)
  • 1/4 cup + 3 tbsp honey
  • 1/4 cup sugar
  • 2 cups oats
  • 1 scoop vanilla protein powder
  • 1/2 cup flax
  • 1 cup crispy rice cereal
  • 1 tsp vanilla extract
Directions:

  1. In a small saucepan on medium heat stir together the butter, honey, and sugar.  Once they have melted together take the pot off the heat and stir in the vanilla extract.
  2. Mix dry ingredients together in a large bowl, then add the wet ingredients from the pot.  Make sure everything is well mixed, and sticky enough to hold together without being a gooey mess.
  3. Lightly spray a 9 x 13 casserole dish with cooking spray and empty bowl contents into it.  Press mix down firmly.  Add optional topping and press down firmly.
  4. Refrigerate pan for 20 minutes.
  5. Remove from the fridge and cut into 12 bars (3 x 4).  A single bar will fit perfectly into a snack sized ziploc bag.  Store the granola bars in the fridge if you want them to be firmer and hold together firmly.  Bars are fine stored out of the fridge, they will just be softer and might break apart.