Saturday, July 5, 2014

breakfast pastries


These are pretty much DIY pop tarts.  They rock. They are great if everyone has different favorites because you can fill each pastry with separate fillings.  So versatile!  I would make these more often because they are so easy to grab and eat on the go, but as much as I love to bake, I loathe rolling out dough.  It's never as obnoxious as I remember it being, but I still hate doing it.

The dough is rather shortbread-like and if you prefer savory fillings you can cut out some of the sugar.  I tend to try new fillings every time I make this recipe, and so far I've loved 90% of them.  Here are several options I have tried and loved, but feel free to come up with your own.


You don't have to ice your pasties, but I think they look prettier this way, and the one pictured on the right is just sliced plums inside so I thought it could use a bit of extra sweetness.


This dough is seriously so simple to make.  Just toss all your ingredients into a food processor and pulse until well mixed.  The knife and cutting board are set out because you cube the butter before you toss it in.


Scrape your dough out onto plastic wrap and form it into kind of a ball.


Wrap up your dough and refrigerate it for at least 2 hours (or overnight if you want to start it ahead of time).


I've tried tons of flavors, I really like these, but I still tend to make new varieties every time.


Close-ups are always helpful, don't you think?  Here is the ham, egg & cheese.  It just scrambled them together earlier so it wouldn't run.


This is basil, tomato, garlic & pepper.  If you want to not be as lazy as me and make pesto to go with the tomatoes, that's even better.
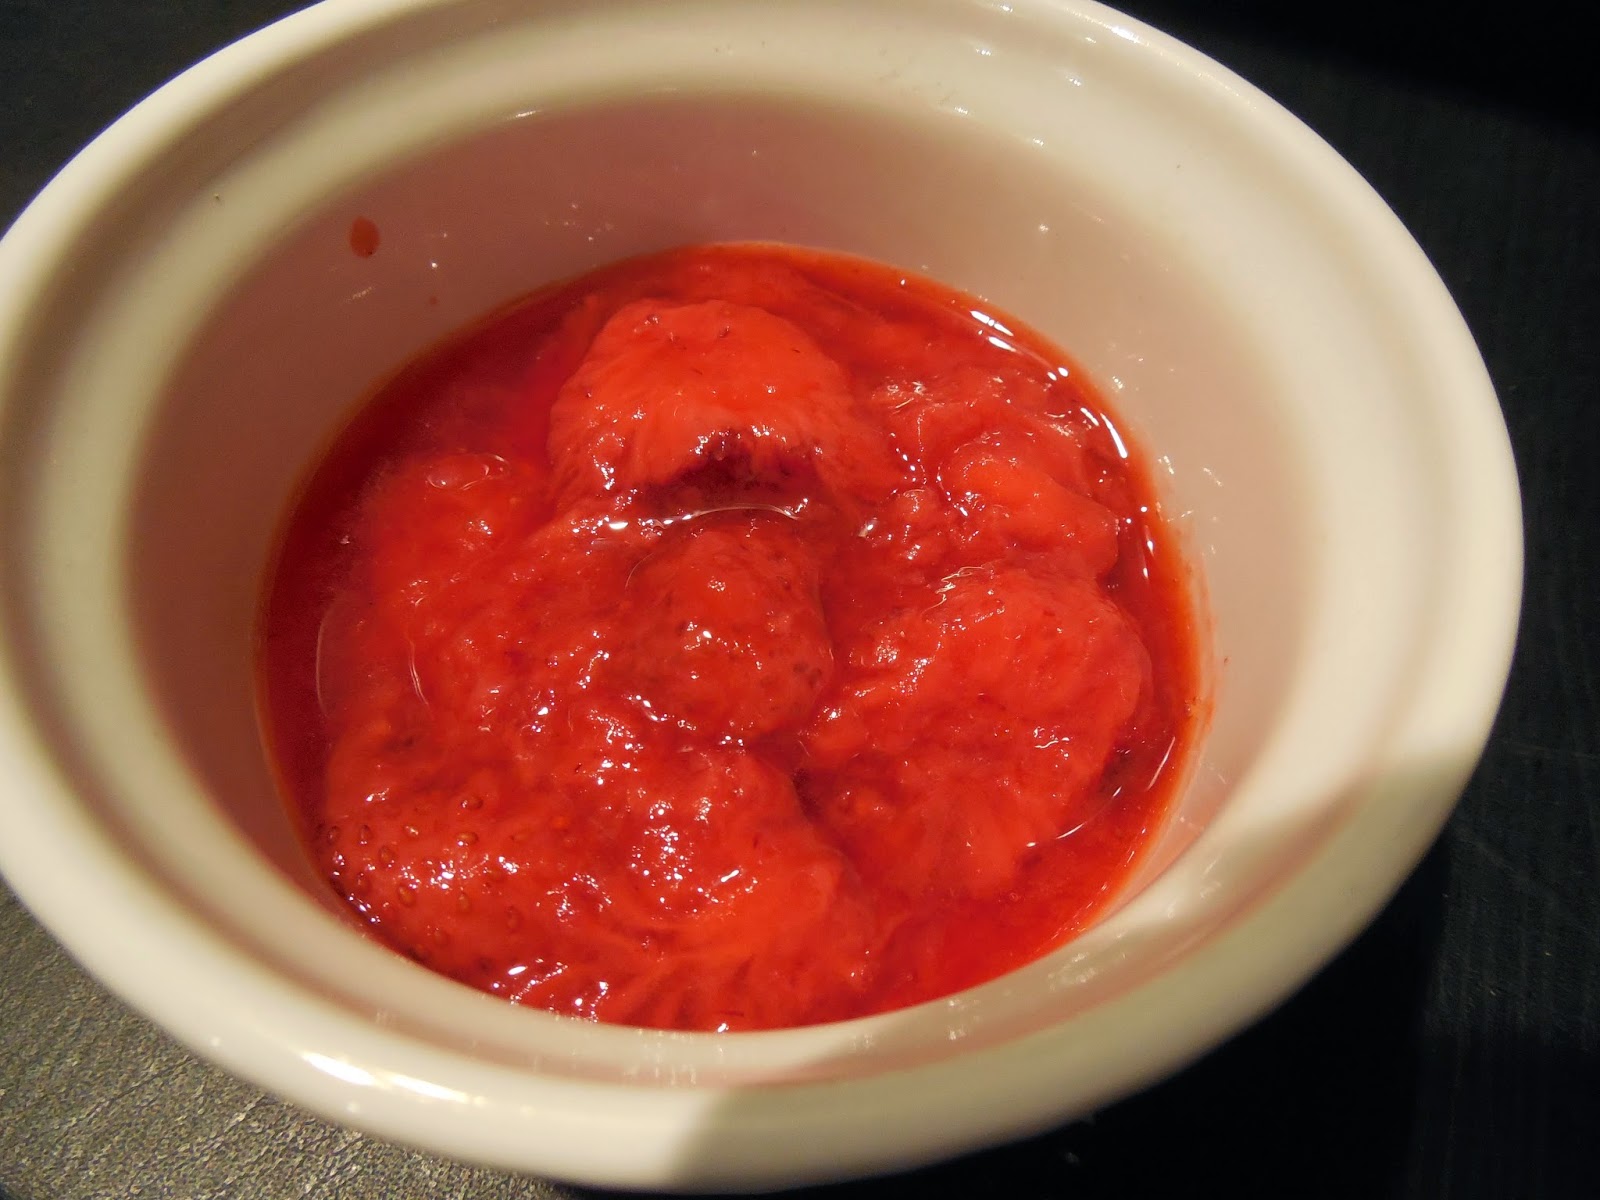

Strawberry preserves


Remember the peach iced tea?  I used the compote by-product and added mixed in some caramel sauce I had made earlier.


Super simple sliced plums.


Diced apples with caramel sauce.


I have a cutter for these.  Otherwise my rectangles are crazy looking and don't line up to stack on top of each other. You don't have to have one though.


Put your toppings on half your rectangles, trying to keep space around the edges.  Very important!  If you are doing multiple fillings take a photo or make yourself a chart so you know which pastries are which.  You wouldn't want to mix up caramel apple with ham, egg & cheese would you?


Also, don't stack your fillings too high because you want the top pastry piece to fill over the bottom without stretching too thin.  And don't worry about your pastries leaking.  The ones that look liquid-y here didn't leak, and the solid looking plum DID leak.  No big deal though.  It happens.  Brush an egg wash over your edges before adding your top pastry layer and push the edges down to seal them together.


Bake on parchment paper and remove from the oven when they are still pale, but the egdes have turned lightly golden.


You will probably get a few pastries that run.  It's okay.  Once you let them cool and lift them off the parchment paper, you'll never be able to tell.


If you want to add some extra sweetness or color go ahead and add some icing.  I mixed some powdered sugar, food coloring, and water in a prep bowl and drizzled in on.  The prettier pastry on the left I evened out the icing with a butter knife.  Let the pastries sit for 30 minutes, or until the icing hardens.  I store my pastries individually in sandwich bags with the flavor written on the bag in sharpie so I know what I'm eating.  Store in a cool dry spot in the kitchen, or if not available, the fridge.  These have never lasted more than 3 or 4 days in our house, so I don't know exactly how long they keep for.


The finished inside of the tomato basil pastry.  Yum!  I like mine cold, but if you like warm pastries you might want to make yours thin so they will fit in your toaster.  A few of mine are too puffy.

I'm only including the recipe for the pastry part of this recipe because the fillings are so numerous and so easy to create your own.  Be warned though, if you want a thin filling like lemon curd, it will melt in the oven and become liquid-y and almost disappear from the inside.  Thicken thin fillings up with cornstarch or other thickeners first.


print recipe

breakfast pastries
Perfect on-the-go breakfast, use your favorite filling!
Ingredients
  • 2 1/2 cups AP flour
  • 1 tsp salt
  • 2 tbsp granulated sugar
  • 2 sticks (16 tbsp) cold unsalted butter, diced
  • 6-8 tbsp cold water
  • 1 egg, beaten with 1 tsp water
Instructions
1. Pulse together the flour, salt, and sugar in a food processor. Then add the diced butter and pulse until it looks coarse and even. Add the water and pulse 3 more times. The dough should hold together but not be sticky.If it is too dry, add the remaining water a little at a time. Turn the dough out onto plastic wrap and wrap it up and store it in the fridge for at least 2 hours (up to overnight).Line two baking sheets with parchment paper and set aside. On a slightly floured work surface roll out your dough. It should be pretty thin (about 1/8"). Using a mold or freehand, cut out 16 rectangles (you will have to roll the dough out at least 2-3 times to accomplish this). 3. Spread your fillings out on half of the rectangles. Keep the filling away from the edges, but spread it evenly. Brush the edges around the filling with the egg wash. Place the top pastry piece over the bottom and push the edges down to seal.4. Preheat the oven to 350 degrees F. Bake the pastries for 25 minutes, or until lightly golden around the edges. Do not overbake these! Halfway through switch the positions of the pans, and rotate from front to back. Remove from the oven and let cool completely. Ice if you want, then let dry completely. Store in individual sandwich bags in a cool, dry place, or the fridge. Keeps for at lest 3 days (they've always been eaten by then here!). Makes 8.
Details
Prep time: Cook time: Total time: Yield: 8 pastries

Food for thought:
These are some other flavors we've done in the past that have gone over well.

  • s'mores (chocolate chips, mini marshmallow, graham cracker crumbles)
  • jam
  • lemon curd mixed with marshmallow fluff
  • sun gold tomato and pesto
  • pepperoni pizza
  • diced fruit
  • cream cheese mixed with cinnamon and sugar
  • brown sugar and cream cheese

Friday, July 4, 2014

kitchen skills by age


I stumbled across this list this morning and just had to post it.  People seem to be afraid to let their kids do anything in the kitchen.  Liam loves making himself sandwiches and helping me with dinner.  The only thing I really draw the line on is anything involving sharp kitchen tools.  Most everything else I at least let him try to help.  He feels like a big shot and he loves to be my helper.


I did not create this myself, and I'm sorry if you created this and I didn't credit you, but I couldn't find that information anywhere.  Let me know if this list is yours and I will credit you.

Thursday, July 3, 2014

polenta fries


I've got a few pantry staples that take up room that I really only use for one or two recipes.  Cornmeal is one of them.  I thought I'd try something new and make fries with them.  I cut mine like steak fries because I like them thick, and I thought they would hold together better if they were thicker.  They turned out pretty yummy.  They obviously don't taste like fries, but they were good (looked a bit like fish sticks), and Liam thought he was pretty cool helping me.


Just like real fries, they go perfectly with ketchup, or just plain.


The rule is 4 cups of liquid and 1 1/2 cups corn meal.  If you're desperate you can use all water, but you'd have to add quite a lot of seasonings to keep the fries from being rather bland.


For liquids I used 2 cups of chicken broth, then a cup each of milk and water.


Add your liquids and corn meal with the salt and stir until the mixture thickens.


Pour the thickened corn meal onto a lipped pan covered in foil and refrigerate for 30 minutes.


Try to smooth out the top with the spoon for nicer looking fries.


Take out the cooled pan and cut fries.  Thick ones hold together better, but feel free to make thinner ones .


Spread the fries out on a lipped sheet lined with parchment paper.  Mine look a bit ugly because I manhandled them quite a bit.


Liam helped me drizzle olive oil over the fries, then I seasoned them.


He thought the olive oil and seasonings should be blended in, so he rubbed it all in.


Your fries should look golden and delicious.


Enjoy by themselves, or with ketchup.


print recipe

polenta fries
Ingredients
  • 1 1/2 cups corn meal
  • 2 cups chicken broth
  • 1 cup milk
  • 1 cup water
  • 2 tsp olive oil
  • 1 tsp salt
  • 1 tsp ground pepper
  • 1 tsp garlic powder
  • 1 tsp chili powder
  • 1 tsp oregano
Instructions
1. Add broth, milk, and water into a large pot with corn meal and salt. Bring to a boil, then let simmer, stirring until thickened. Stir often prevent burning or sticking.2. Pour the polenta into a lipped pan lined with foil. Smooth out the top, then place in the fridge for half an hour.3. Preheat the oven to 450 degrees F. Cut the polenta into fries and lay them close together on a parchment lined lipped pan. Drizzle olive oil over top and season. Bake for 20 minutes, then flip and bake for an additional 20. Your fries are done when they are golden and smell wonderful. Eat warm alone or with ketchup.
Details
Prep time: Cook time: Total time: Yield: 4 servings

Wednesday, July 2, 2014

raspberry soda


I'm generally not much of a soda person, I rarely rarely buy them.  That being said, sometimes you just want a cold refreshing fizzy drink.  This hits the spot.  It's easy, quick, cheap, and you can control the proportions yourself.  This is barely able to be called a recipe because it is so simple, but I'm listing it anyway, more of a good idea I guess.  Try it out and let me know what you think.  You can change the flavor too, the possibilities are endless!


I used a large mason jar with a regular sized top.  I found this lid and straw set at Target and I love it!


The ingredients are simple.  All you need is club soda, lime juice, raspberry syrup, and some ice.


I love this combination but maybe next time I'll try some new flavors just to mix it up.


 Just fill your cup about halfway with ice, add a tablespoon of lime juice, three tablespoons of raspberry syrup, then fill to the top with club soda.  That's it!


 You can change the amounts if you want your drink taste stronger or weaker.


You don't really have to mix this either.  I just swirl my straw around barely and that's all that is needed.
Isn't this such a pretty color?


Obligatory picture of me, since there aren't any already.  Is it possible to NOT look stupid while drinking with a straw?


print recipe

raspberry soda
easy do-it-yourself soda
Ingredients
  • about 1 cup ice
  • 1 tbsp lime juice
  • 3 tbsp raspberry syrup
  • about 2 1/2 cups club soda
Instructions
1. Fill your cup halfway with ice. Add lime juice, syrup, then club soda. Gently swirl and enjoy!
Details
Prep time: Cook time: Total time: Yield: one large mason jar

Tuesday, July 1, 2014

green beans and tomatoes


I love green beans. They just remind me of summer. They are wonderfully fresh and I love eating them raw. They really give the most satisfying crunch. I could go on Green Eggs and Ham style... I could eat them raw, sauteed, roasted, marinated, etc.  Yes, I love green beans.  However, I've know several people who weren't the biggest fans.  This recipe has turned at least two of them into green bean fans.  Yup.

This is one of those super simple even a monkey could do it recipes that helps bring out the natural goodness of the green beans and tomatoes.  You can change the cook time to suit your tastes too.  Depending on whether you like your beans slightly crunchy, or limp and very well cooked, or anywhere in-between.  I generally go mostly cooked, slightly crunchy.


C'mon, you know you want to try it.


Rinse off your green beans and tear the ends off with your hands.  You can rip the beans in half if they are long.


Heat your pan over medium heat and add the olive oil and chopped garlic.  Stir for a minute, then add the tomatoes and green beans.


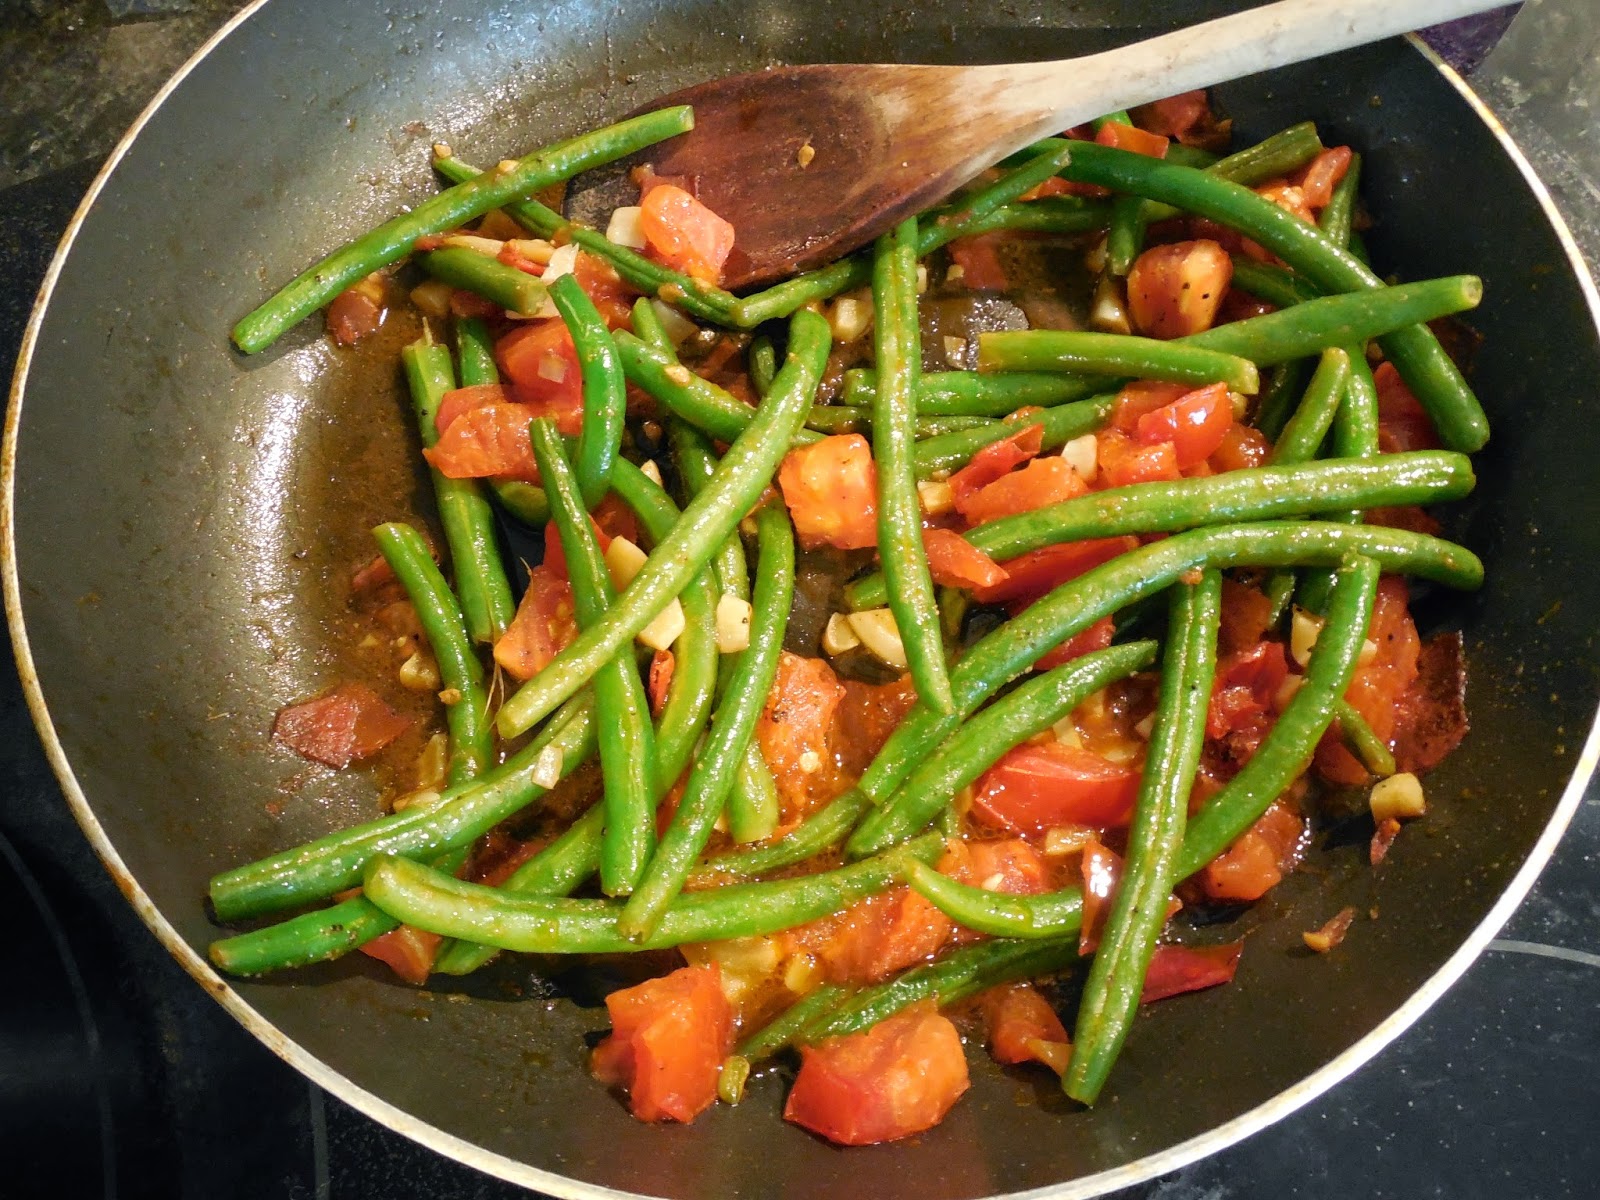
 Stir your ingredients around to prevent burning.  Allow everything to soften.  Let the garlic cook through before you take this off the heat.


I take my pan off the heat when it looks like this.  This makes a great side dish, and if you have some good bread to sop up extra liquid even better.


Gotta love a quick, easy, and healthy veggie side option.  I could eat this every day in summer.  I just love having fresh produce around!


print recipe

green beans and tomatoes
This is the recipe that makes you like green beans
Ingredients
  • 2 large handfuls fresh green beans
  • 1 large tomatoes
  • 1 tbsp olive oil
  • 4 garlic cloves
  • 1/4 tsp salt
  • 1/2 tsp pepper
Instructions
1. Rinse off the green beans and rip the ends off. Rip beans in half is they are very long.2. In a pan add the olive oil and chopped garlic and stir for a minute on medium heat.3. Add the tomatoes, green beans, salt, and pepper. Stir to mix. 4. Stir occasionally to prevent sticking or burning. Leave on the stove until the garlic has cooked through as a minimum. If you like your green beans to be softer, cook for several minutes extra.5. Section onto plates and eat warm. This makes great leftovers, and also pairs well with good bread to sop up any excess liquid.
Details
Prep time: Cook time: Total time: Yield: 2-4 servings