Tuesday, July 28, 2015

triple cinnamon cinnamon rolls


You know your husband is awesome when he goes to the grocery store and brings home fun new food items to mess around with.  This time he brought home Hershey's Cinnamon chips.  He scored big time with these.  They are so good!  Super hot and cinnamon-y, not too sweet, and very creamy.  Heavenly.  Of course my first thought was to make cinnamon rolls.  Jeff always wants a crazy amount of cinnamon in his cinnamon rolls, so I figured, why not add the cinnamon chips?

I'm never going to back to chip-less cinnamon rolls again.  Ever.


The best part about these extra cinnamon-y rolls?  I used TONS of chips and still have some left in the bag for later!

This was the very first time I've made cinnamon rolls where Jeff hasn't (half joked) that I should try to add more cinnamon next time.  But at the same time, they weren't overly spicy hot or sweet.  Perfect balance of hot, sweet, and creamy.  My personal best.


 Evenly distribute the chips over the butter, brown sugar, and cinnamon when you lay out the filling.


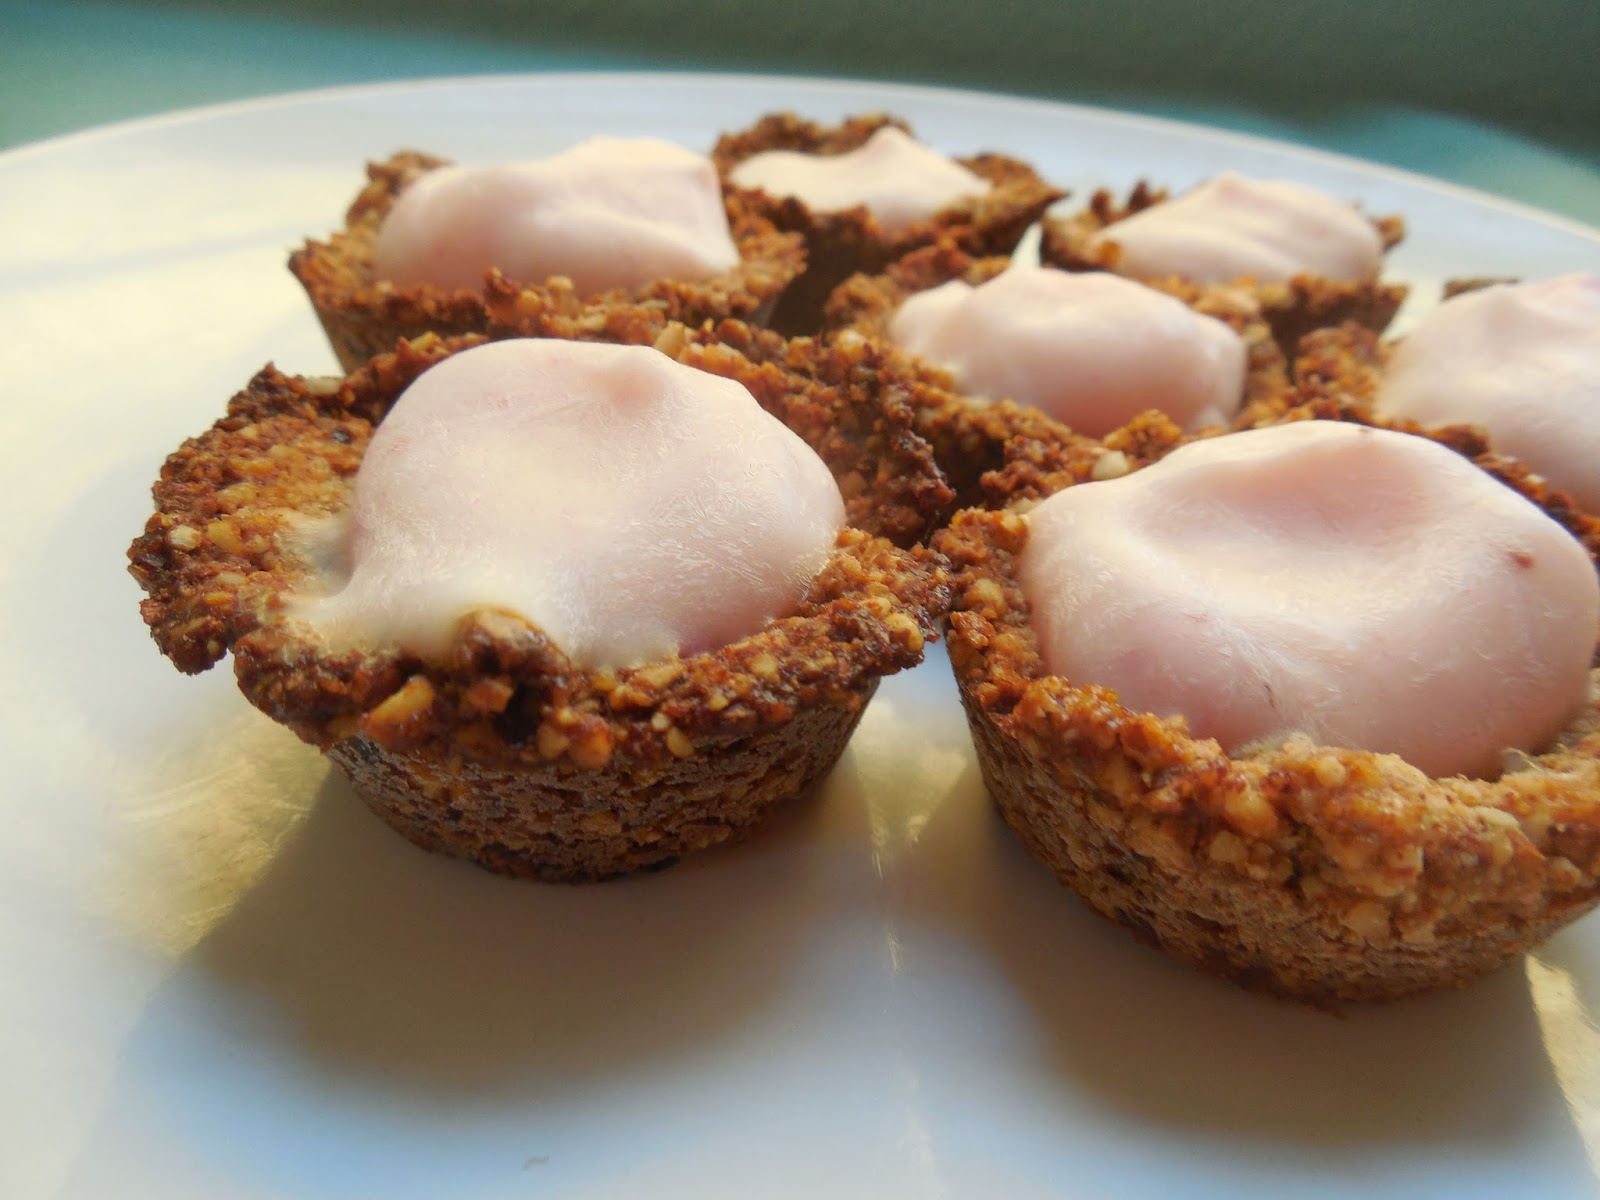
Haven't even been baked yet and they look amazing!


Take your cinnamon rolls out of the oven when they look like this.  Lightly golden edges, cooked centers, and don't expect all your chips to be melted.


 Set the rolls aside to cool because its time to make your cinnamon icing!


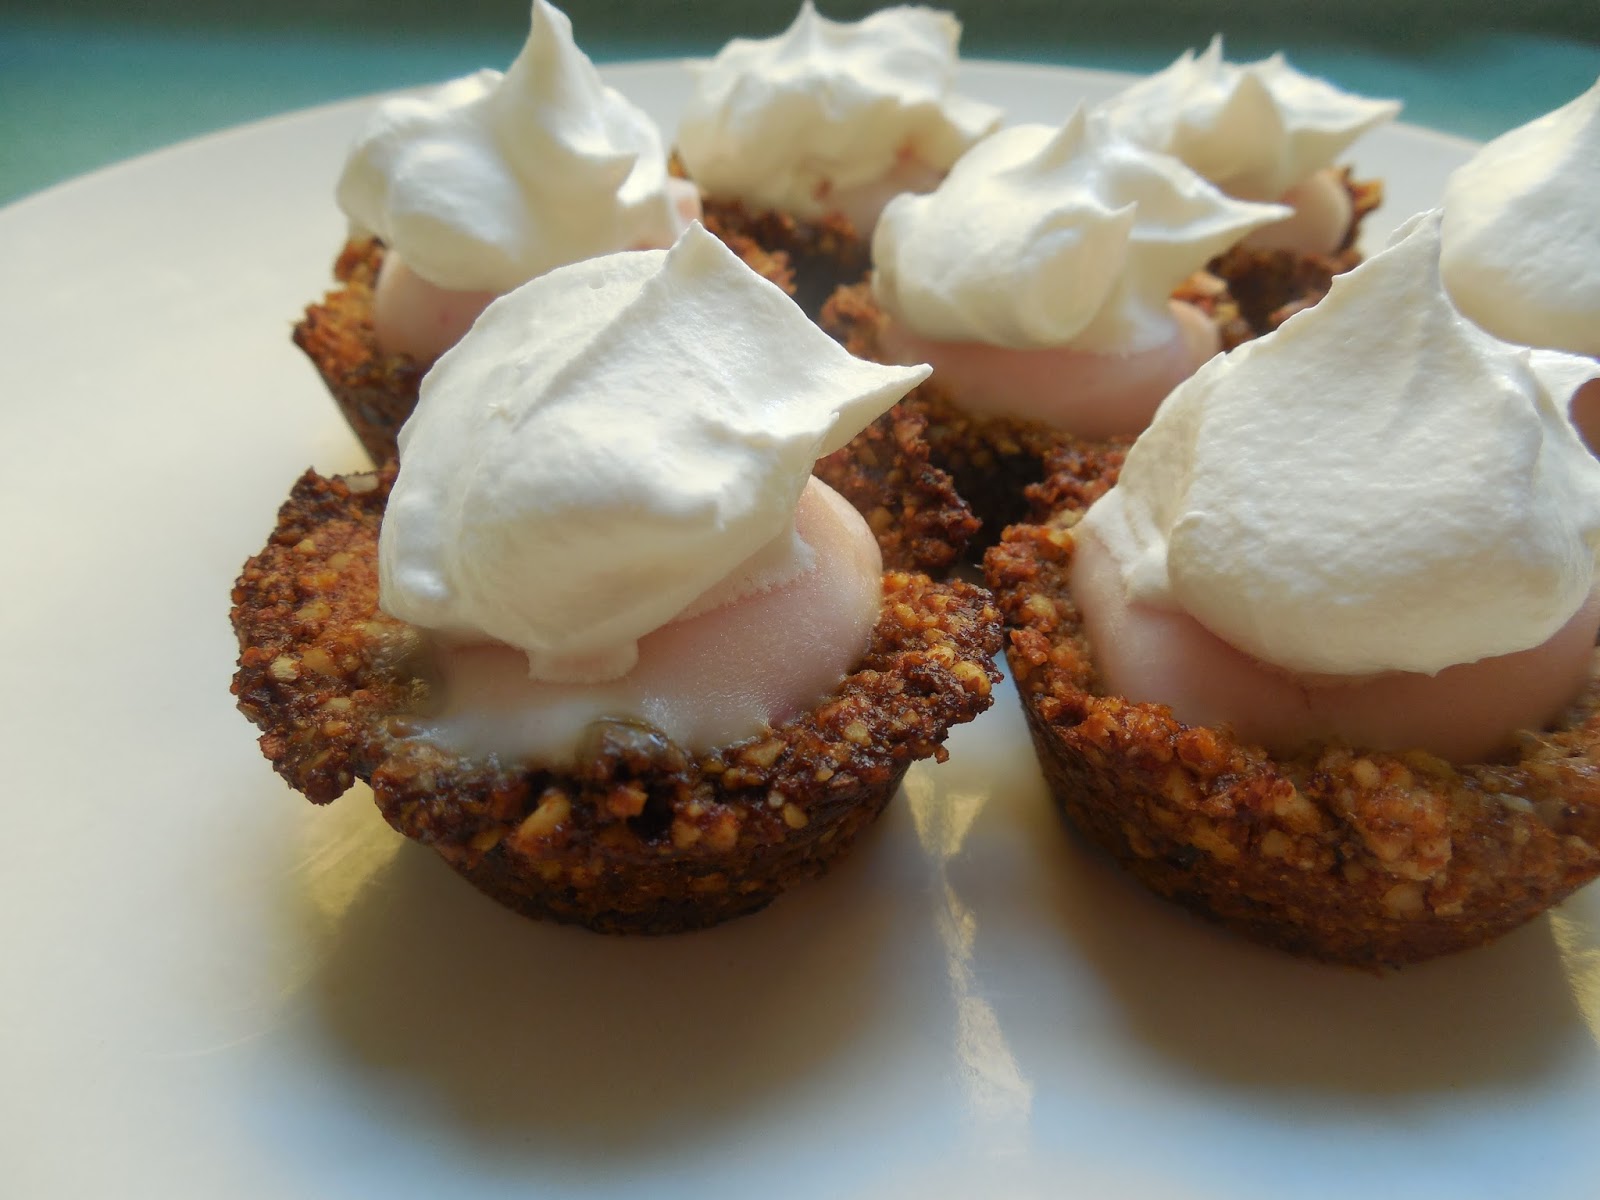
This is my favorite part about this recipe, and why the cinnamon is tripled.  Cinnamon can be found in the rolls in two ways, and the icing is cinnamon flavored, not vanilla like usual.


 Little tip?  I like to double the icing recipe and store the extra in tupperware in my fridge.  A bit of it drizzled over oatmeal, vanilla ice cream, in your coffee, etc... sooo good!


I made these yesterday and my batch is already half gone!  I like them soft and warm.   Enjoy!


Triple Cinnamon Cinnamon Rolls

total time: 2 hours
makes 12 rolls

Ingredients:
rolls:
  • 2 1/4 tsp yeast
  • 1/2 cup warm water
  • 1/2 cup milk
  • 1/4 cup granulated sugar
  • 1/2 cup light brown sugar, lightly packed
  • 4 tbsp unsalted butter, melted
  • 1 tsp salt
  • egg
  • 1 tsp vanilla extract
  • 4 1/2 cups AP flour
filling:
  • 3/4 cup unpacked brown sugar
  • 6 tbsp cinnamon
  • 3 tbsp unsalted butter, melted
  • 3/4 cup cinnamon chips
icing:
  • 1/4 cup milk
  • 1/4 cup granulated sugar
  • 1/4 cup cinnamon chips

Directions:
1.  In a small bowl mix the yeast into the warm water, set aside.
2.  In a large bowl or stand mixer mix the milk, sugars, melted butter, salt, egg, and vanilla. Add half the flour and mix. Pour in the yeast mixture, then mix in the remaining flour. Knead the dough until smooth. Let the dough sit in a greased covered bowl until it doubles in size, about an hour.
3.  When the dough has doubled in size punch it down. Spread plenty of flour on your counter and roll your dough into a 9x15 inch rectangle. Leave one long side empty on 1" and cover the rest of the dough evenly with butter, brown sugar, cinnamon, and the cinnamon chips. Roll the dough inwards towards with the empty long edge. Pinch the edges together. Cut into 12 pieces.
4.  Preheat the oven to 350 degrees F. Place the 12 rolls 3x4 in a greased casserole dish and cover with a dish towel.  Let rise again for 45 minutes. 
5.  Bake for 30 minutes.  Remove from the oven when the edges have become lightly golden.  Let cool.
6. In  small saucepan whisk together the milk and sugar on medium heat until the sugar has dissolved.  Do not allow the milk to boil.  Once the sugar has dissolved turn off the heat and whisk in the cinnamon chips.  When the cinnamon chips have also dissolved take the pan off the stove and set aside.  Let the icing sit for several minutes to allow it to thicken.  Once the rolls has mostly cooled pour the icing over top. Enjoy!

These don't last long at our house!

Friday, July 24, 2015

books to help kids become interested in cooking

Liam loves helping out in the kitchen.  He makes his own sandwiches, he helps me measure when we bake.  He helps me season chicken.  He's actually a pretty good culinary helper.

I think it helps him stay interested in cooking to read food themed books.  Here are some of Liam (and Jack's) favorite books about food.  Okay, some of these are just about food, not cooking, but they still get the boys interested in food, so I call it a win.  :)


This book goes through the whole process of getting ingredients to make a pancake.  The only down side of reading this book is that Liam usually insists we make pancakes right after reading it.


This book mostly makes Liam create with food.  Either putting together new combinations, or making HUGE pancakes, there are no stopping the possibilities. 


Liam is learning to make pasta sauce from scratch, because pasta is magical.


This book is perfect for us because blueberries are in both boy's top 5 foods, and Jack LOVES animals, including bears.


Okay, Paddington isn't really about food, but every time we read it Liam really wants to make marmalade, which I think is just the cutest thing ever.


What a shocker.  Liam thinks that this book is a sign we should make cookies.  I'm generally okay with that...


Anyway, I love teaching Liam to cook.  I refuse to let my kids be the ones in college who can barely boil water.  No way.  Teaching kids to cook is the best.  Its fun to do together, a fun hobby, a useful skill, and even educational.  Baking teaches Liam all about fractions and measurements.  It is a science people!  Cooking helps teach about experimentation.  I love when Liam figures out which seasonings go together all on his own.

I'm sure I own more food books than this, but this is a good start.  I love being able to teach my kids a skill while we have fun together.

If I manage to teach the boys enough in the kitchen so that they can make me breakfast in bed for Mother's Day in a few years, then bonus.  :)

Saturday, July 11, 2015

frozen yogurt tarts


I've been on a bit of a tarts kick as of late.  Can you tell?  I really wanted a healthier version, both for me, and for an easy snack for the kids.  These tarts are MUCH healthier than my previous recipe, and are mini sized (perfect for snacking!).

I got the recipe for the crust from Deliciously Ella.  I love her!  She's a super cute healthy girl from London.  A bit hippy for me sometimes, but great for easy, filling, low sugar, veggie recipes.  I had to alter her tart crust recipe a bit to suit me (and to account for the US measurements).

These tarts take about 45 minutes to make (plus freezing time), but you can make them the night or morning before you want them so easily.


These tart crusts only use 4 ingredients.  So simple.  Almonds, dates, coconut oil, and water.  That's it.  Really.  I like mine a little coarse, but you can grind them finer if you like.  I find the easiest way to make these is to cut the dates into small pieces and soak them in a small bowl with the water and (melted) coconut oil until they have softened a bit.

While the dates are soaking pulse the almonds in a food processor until fine.  Pour the almond pieces out into a medium sized bowl.  Now pulse the dates in the water and coconut oil until there are no remaining chunks.  Pour this out into the bowl with the almonds and stir together with a wooden spoon.

Preheat the oven to 325 degrees F and lightly grease a mini muffin tin.

Ball up pieces the size of half your thumb (as a rough estimate) and press them down in each mini muffin mold, pushing the crust out gently up near the tops of the mold.  I ended up with about 21 tarts.  Bake for 15 minutes, then move and let sit about 10 minutes.  Remove carefully and place on a wire rack to cool completely.

I know the darker than average crust color might concern some of you, but almonds and dates are dark before baked.  Don't worry.  Nothing is burned.


Place the tarts on a large plate or tray to prep for the freezer.


I had the PERFECT amount of yogurt in one container to exactly fill all my tarts.  Just spoon a dollop into the center of each tart.


Place the tarts in the freezer until the yogurt has firmed.  Freezing the tarts makes them so refreshing on a hot day, and there's WAY less mess for the kiddos!


Look at how pretty and simple these are.  You could eat them like this.  Or...


...you could spoon a nice dollop of lite cool whip on top of each tart.  Really, it makes all the difference in the world.  Now you have a still pretty healthy dessert that is great for hot days, good for kids, not messy, and perfectly bite sized.

Not enough reason to make these?  Well, they are also super easy to make, required very few ingredients, can be made in advance  Shall I go on?


In short these tarts are sweet, tart, nutty, chewy, refreshing, and creamy.  What's not to love?

You could even go one step further in telling yourself to make these by remembering that the ingredients include whole almonds and yogurt.  Very good sources of protein you know.

And cool whip not included, I happened to have all the other ingredients necessary already in stock.


frozen yogurt tarts
makes 20-22 mini muffin sized tarts

ingredients:

  • 7 ounces of whole almonds
  • 3 tbsp coconut oil
  • 2 tbsp water
  • 10 medjool dates
  • 1 container of strawberry yogurt (I used yoplait original)
  • lite cool whip
directions:
  1. Cut the dates into small pieces and place into a small bowl to soften with the coconut oil and the water.  While they soak grind the almonds in a food processor (coarse or fine, up to you).  Pour the ground almonds out into a medium bowl.
  2. Pour the date mixture into the food processor and puree.  Pour the mix out into the almond bowl and stir to combine with a wooden spoon.
  3. Preheat the oven to 325 degrees F and oil a mini muffin tin (24 muffin capacity).
  4. Grab crust pieces about half the size of your thumb and gently push into the base of each mini mold, then push up the sides evenly.
  5. Bake for 15 minutes, or until edges have darkened a bit.
  6. Remove from oven and let rest for 10 minutes before removing from the mold and letting cool completely on wire racks.
  7. Place crusts on a large plate or tray and gently spoon strawberry yogurt into the center of each tart.  Freeze the tarts.  
  8. Remove from the freeze and top each tart with a large dollop of lite cool whip.  Serve.


The crust recipe is a lightly edited version from Deliciously Ella.


Monday, July 6, 2015

mini tart cups


These mini tart cups are so cute and easy.  They are the perfect snack size, and can be made in so many flavors and varieties!  All you need is any sugar cookie, cracker, or shortbread dough that can be rolled out.  I used a biscuit cutter with a scalloped edge because it makes the tart edges prettier.


Gather up your favorite dough recipe (that can be rolled out), a muffin tin, and a biscuit cutter slightly bigger than the muffin tin base.

Roll out your dough fairly thin because it will puff up a bit when it bakes, and you want plenty of room for tart filling!  I should have rolled this batch a bit thinner, but they still worked fine.  Just don't roll your dough CRAZY thin, because you want the tart crust sturdy enough to support the weight of your filling.


Use your biscuit cutter and cut out the dough in slightly bigger circles than the bottom of the muffin tin openings.  Spray the muffin tin well with cooking spray before you lightly press the dough in and they'll pop out easily after they're baked.  Grab a fork and poke 3-4 times on the tart bottoms to prevent them from puffing up too much.


I baked this batch for 18 minutes, then let them sit for about 2 minutes before I removed the tart cups to a wire rack to cool completely.

You can easily make these a day before you need them if you store them in a cool dry place.  I made these ahead of time, and I made the custard filling the day before as well.  I piped the custard into the cups right before I needed them and topped them with strawberries and blueberries.  So easy!  I love these tarts.  They taste yummy (seriously, I need an intervention to stop eating them all!), they were really easy, you can make them in advance, and they look super fancy.


Tarts are great for parties because you can just grab them and you don't need a fork or even a plate.  I love grab and go foods!  I've already got a bunch of tart variations I want to make too.  One the top of my list?

  • shortbread cup + chocolate pudding + whipped cream dollop
  • graham cracker cup + chocolate ganache or pudding + toasted marshmallow
  • chocolate sugar cookie cup + strawberry Greek yogurt
  • sugar cookie cup + strawberries + whipped cream dollop
  • peanut butter cookie cup + Reese's peanut butter cup


mini tart cups

ingredients:

  • 2 cups AP flour
  • 2 tbsp sugar
  • 1 tsp salt
  • 1/2 butter, cut into small pieces
  • 1 egg
  • 3 tsp milk

directions:

  1. In a food processor, blend the flour, sugar, salt, and butter until it resembles coarse sand.   Pulse in the egg, then add in the milk and pulse until the dough comes together.
  2. Wrap the dough in plastic wrap and refrigerate for 30 minutes.
  3. Preheat the oven to 350 degrees F.  Flour you counter and roll on the dough fairly thin.  Use a biscuit cutter slightly larger than the muffin tin base and cut out your dough.  Gently press into the greased muffin tin and lightly stab 3-4 times with a fork.
  4. Bake for 18 minutes, until the edges are lightly golden.  Remove from the oven and let sit for 2 minutes before removing the cups onto a wire rack to cool completely.
  5. Once cooled, fill cups and serve, or set unfilled cups aside in airtight container in a cool dry area.  Cups can always be filled and served the next day.  Once filled try to consume the cups within 3 days or the cups will start becoming soggy on the inside.

Saturday, July 4, 2015

Happy 4th of July!

Sorry for this post which really isn't even a post.  I will post an actual full length post tomorrow, really.  I just wanted to wish a fantastic 4th of July to everyone.  I hope your day and evening is filled with great family memories and good thoughts and memories of this amazing country.  Let freedom ring!


Nothing is more American than having a picnic in crazy heat, while wearing Captain America shirts, going on carnival rides, watching a great free concert, and watching a great fireworks show (while wearing sub-par glow stick bracelets).


Jack had so much fun exploring and running around the park!


I can't believe this kid is big enough to run down to the street and grab tossed candy from parade floats all by himself now!  Of course the candy is what Liam remembers most about the annual 4th of July parade!  He just looks bummed here because he got a peppermint and he hates mint.


Here's a sneak peek of tomorrow's post.  I just love making color coded food for holidays.  Cheesy, but fun.  And a big help to me to decide what to bring to potlucks!