Showing posts with label strawberry. Show all posts

Monday, March 14, 2016

Strawberry Hand Pies for Pi Day!


Happy Pi day everyone!  March 14th is an awesome day because it gives me the perfect excuse to bake.  I've done classic pies and pizza (pies) before on Pi day, so this year I thought I'd shake it up a bit and make hand pies.

Hand pies are great because they are perfect for portion control, and if you forgo the icing (so sad!) they're a less messy dessert option for all those messy eaters out there.  Kids, I'm talking about you.


Another part of my decision to make hand pies was because I got a set of super cute molds for Christmas (here) and hadn't gotten a chance to break them in yet.  I just love fun kitchen gadgets.  Especially ones that I can easily chuck in the dishwasher.  Woohoo!

You can use my go-to pie crust recipe, your own favorite, or heck, even store bought.  Whatever floats your boat.


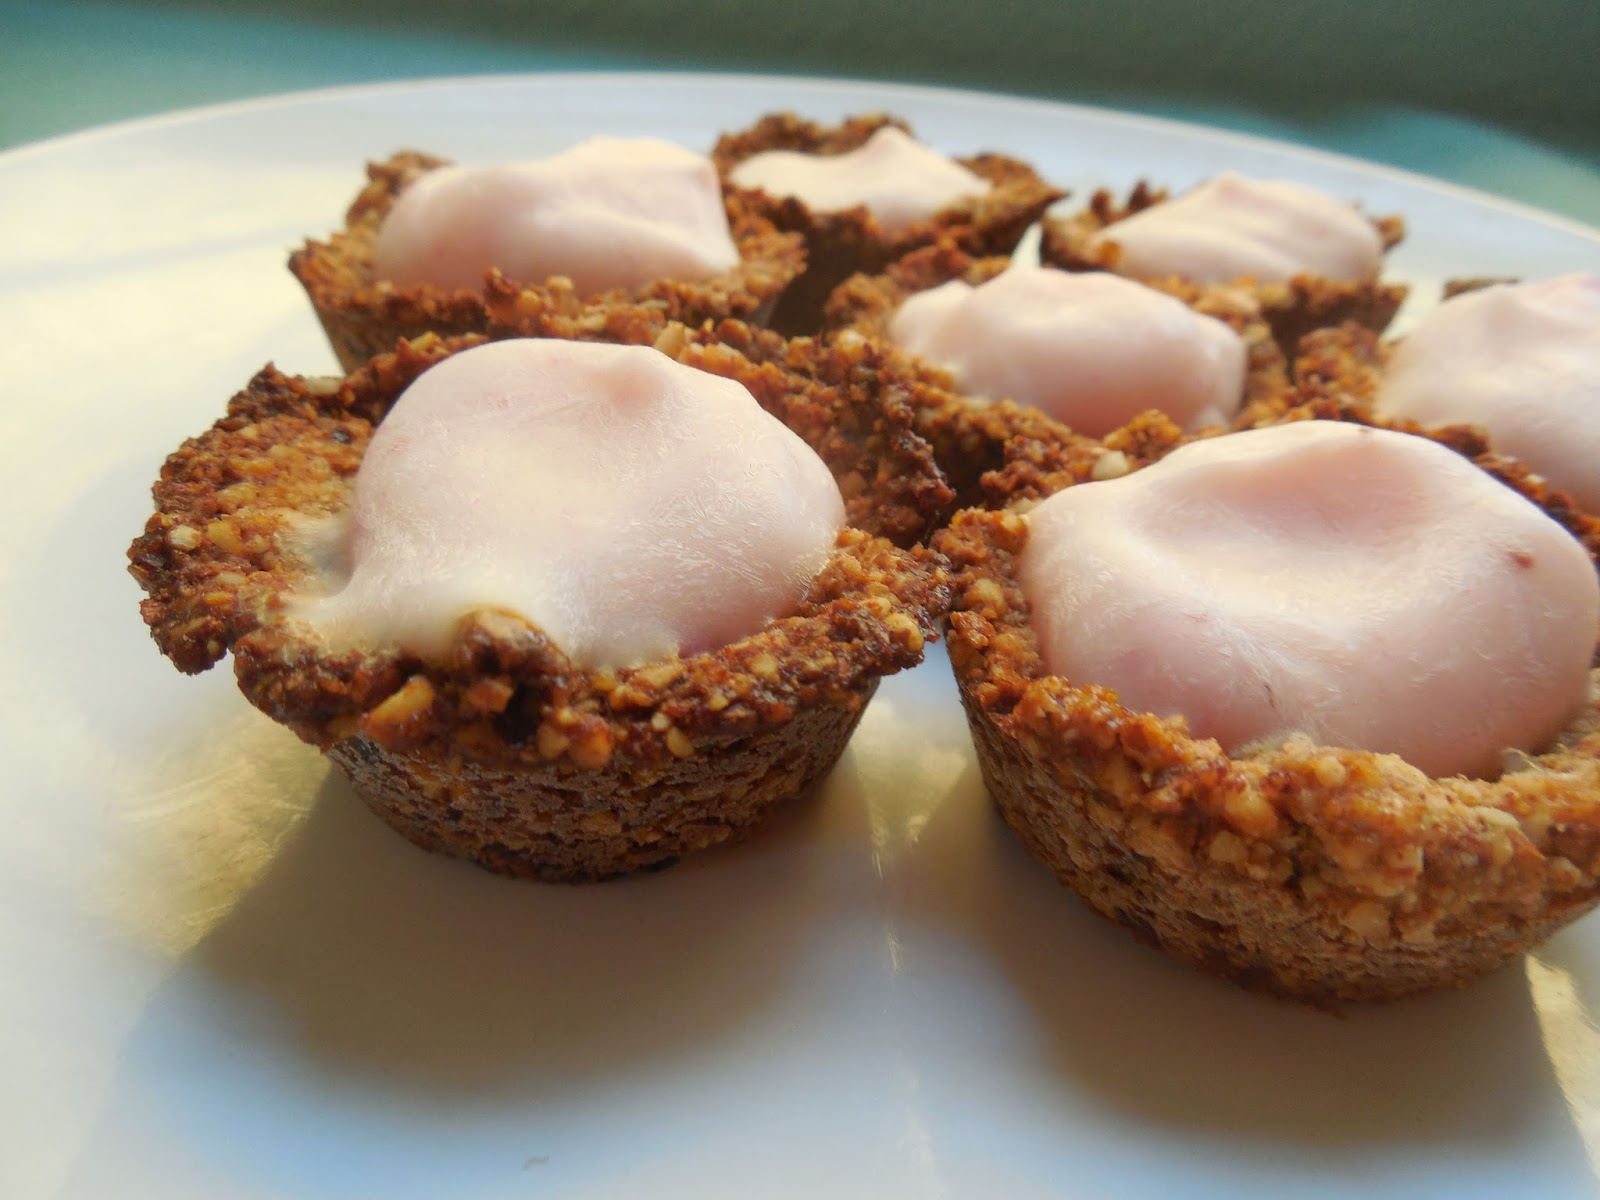
I put about a tablespoon of filling (essentially a quick jam, you could do any flavor filling you want, just nothing too liquidy) into he smallest sized mold.


This set is really easy to use.  I just lightly pressed down and gently flipped the hand pie out onto a lined baking sheet.


Bake at 350 degrees F for 25 minutes, rotating halfway through, and remove when the hand pies are firm and just barely beginning to turn golden at the edges.


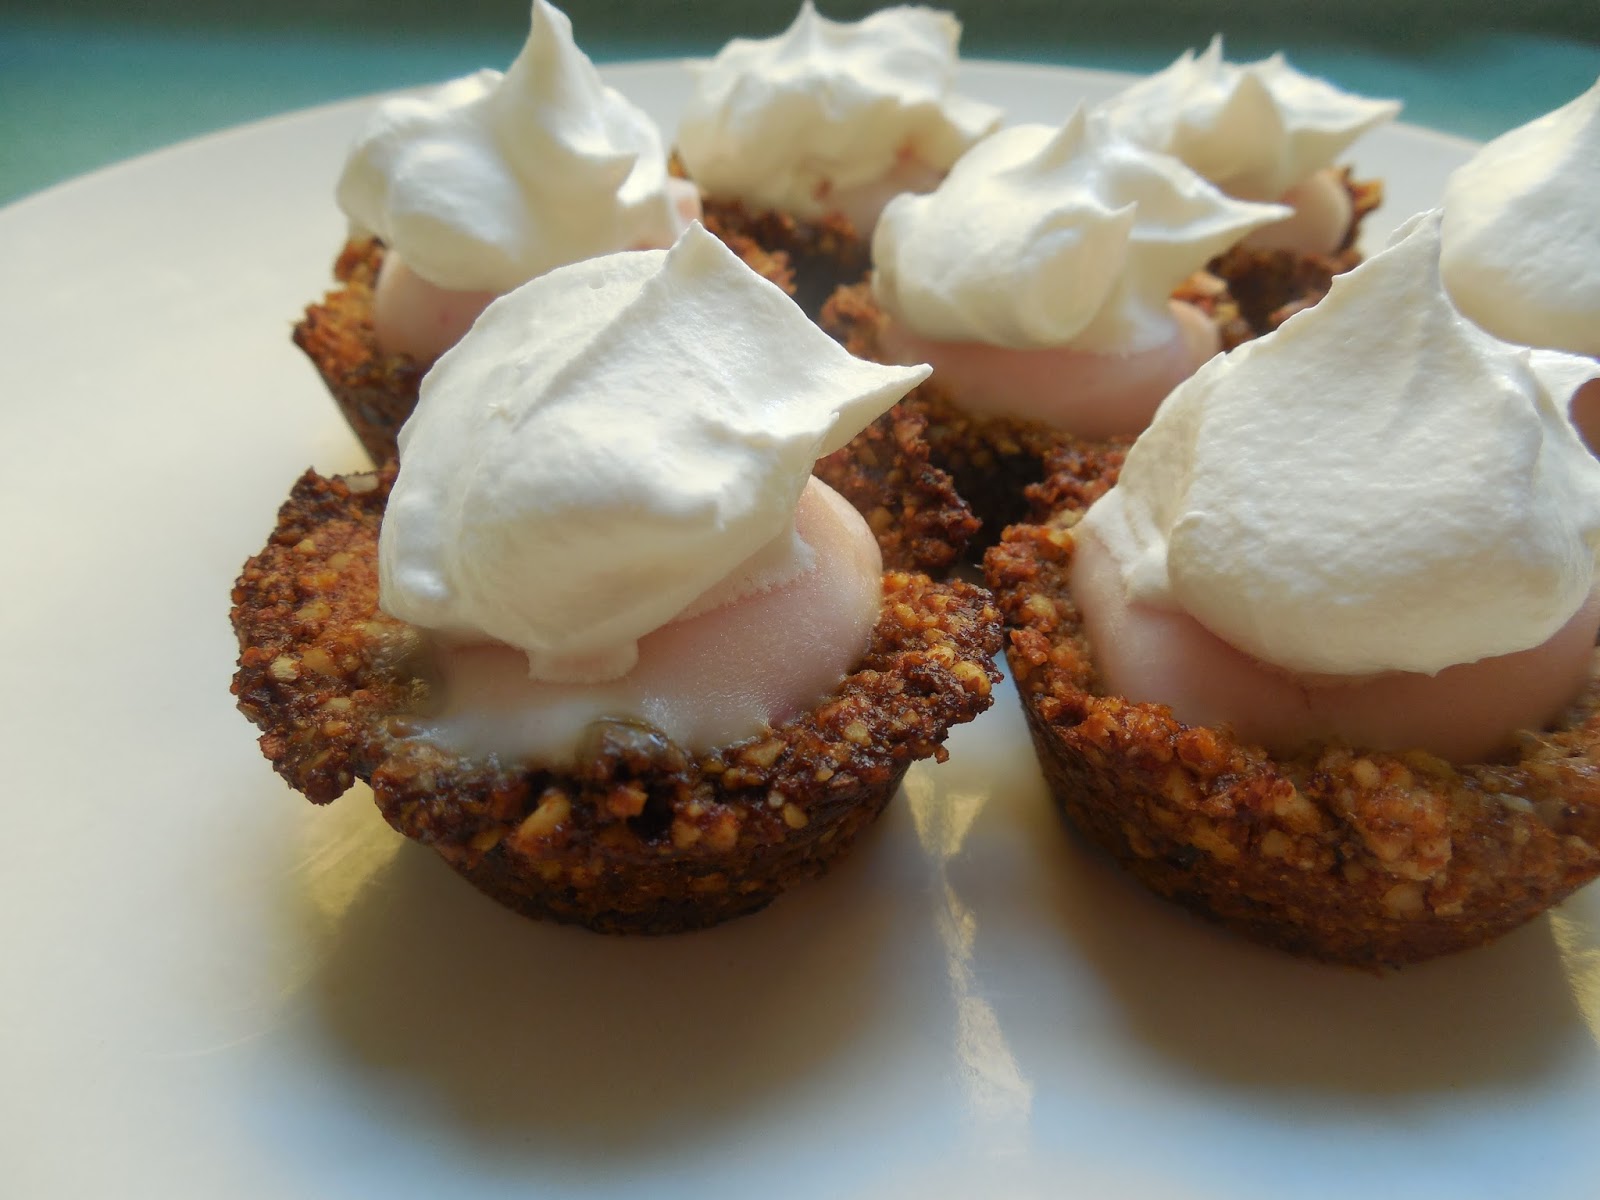
Once the hand pies have cooled, drizzle with a basic icing.  Then eat them all.  :)

I used frozen strawberries in this recipe because I like the jammy consistency I know I can get every time with them.  Plus, even with the sugar they retain a bit of tartness, which I enjoy.


Strawberry Hand Pies
makes about 12-14

Ingredients:
Filling:

  • 16 oz. bag frozen strawberries
  • 1 tablespoon cornstarch
  • 1 teaspoon lemon juice
  • 1 Cup powdered sugar
Crust:
  • 2 1/2 Cups all-purpose flour
  • 1 teaspoon salt
  • 2 tablespoons sugar
  • 16 tablespoons (2 sticks) unsalted butter, chilled and cubed
  • 7 tablespoons ice water
Icing:
  • 1/2 Cup powdered sugar
  • 2 teaspoons milk
  • dash red food coloring

Directions:
  1. Make the crust.  In a food processor add the flour, salt, sugar, and butter.  Pulse until the mixture resembles wet sand.  Slowly add the water as needed until the mixture is a solid, bt not sticky.  Wrap in plastic and refrigerate at least 2 hours.
  2. Make the filling.  In a pot on medium high heat add the frozen strawberries.  Stir occasionally until they have fully thawed and have begun to break down.  Then stir in the cornstarch, lemon juice, and powdered sugar.  Use a potato masher to break up any large pieces of berry, otherwise just continue to stir occasionally until the filling begins to tighten up.  Remove from heat and let cool a bit.
  3. Preheat the oven to 350 degrees F.  After the crust has been refrigerated at least 2 hours roll it out thinly on a flour covered counter.  Use a dough press or a large round cookie cutter to cover the dough with circles.  Place 1 tablespoon of filling in the center of each circle and fold the circles in half, pressing the edges down.  Place the hand pies on a lined baking sheet and bake for 25 minutes, rotating halfway through.  Remove the hand pies from the oven when the edges are firm and only beginning to turn golden.
  4. Allow the hand pies to cool and make the icing.  Combine the powdered sugar, milk, and food coloring and mix well.  Gently drizzle the icing over the cooled hand pies and waiting for the icing to dry.  Enjoy.

Saturday, July 11, 2015

frozen yogurt tarts


I've been on a bit of a tarts kick as of late.  Can you tell?  I really wanted a healthier version, both for me, and for an easy snack for the kids.  These tarts are MUCH healthier than my previous recipe, and are mini sized (perfect for snacking!).

I got the recipe for the crust from Deliciously Ella.  I love her!  She's a super cute healthy girl from London.  A bit hippy for me sometimes, but great for easy, filling, low sugar, veggie recipes.  I had to alter her tart crust recipe a bit to suit me (and to account for the US measurements).

These tarts take about 45 minutes to make (plus freezing time), but you can make them the night or morning before you want them so easily.


These tart crusts only use 4 ingredients.  So simple.  Almonds, dates, coconut oil, and water.  That's it.  Really.  I like mine a little coarse, but you can grind them finer if you like.  I find the easiest way to make these is to cut the dates into small pieces and soak them in a small bowl with the water and (melted) coconut oil until they have softened a bit.

While the dates are soaking pulse the almonds in a food processor until fine.  Pour the almond pieces out into a medium sized bowl.  Now pulse the dates in the water and coconut oil until there are no remaining chunks.  Pour this out into the bowl with the almonds and stir together with a wooden spoon.

Preheat the oven to 325 degrees F and lightly grease a mini muffin tin.

Ball up pieces the size of half your thumb (as a rough estimate) and press them down in each mini muffin mold, pushing the crust out gently up near the tops of the mold.  I ended up with about 21 tarts.  Bake for 15 minutes, then move and let sit about 10 minutes.  Remove carefully and place on a wire rack to cool completely.

I know the darker than average crust color might concern some of you, but almonds and dates are dark before baked.  Don't worry.  Nothing is burned.


Place the tarts on a large plate or tray to prep for the freezer.


I had the PERFECT amount of yogurt in one container to exactly fill all my tarts.  Just spoon a dollop into the center of each tart.


Place the tarts in the freezer until the yogurt has firmed.  Freezing the tarts makes them so refreshing on a hot day, and there's WAY less mess for the kiddos!


Look at how pretty and simple these are.  You could eat them like this.  Or...


...you could spoon a nice dollop of lite cool whip on top of each tart.  Really, it makes all the difference in the world.  Now you have a still pretty healthy dessert that is great for hot days, good for kids, not messy, and perfectly bite sized.

Not enough reason to make these?  Well, they are also super easy to make, required very few ingredients, can be made in advance  Shall I go on?


In short these tarts are sweet, tart, nutty, chewy, refreshing, and creamy.  What's not to love?

You could even go one step further in telling yourself to make these by remembering that the ingredients include whole almonds and yogurt.  Very good sources of protein you know.

And cool whip not included, I happened to have all the other ingredients necessary already in stock.


frozen yogurt tarts
makes 20-22 mini muffin sized tarts

ingredients:

  • 7 ounces of whole almonds
  • 3 tbsp coconut oil
  • 2 tbsp water
  • 10 medjool dates
  • 1 container of strawberry yogurt (I used yoplait original)
  • lite cool whip
directions:
  1. Cut the dates into small pieces and place into a small bowl to soften with the coconut oil and the water.  While they soak grind the almonds in a food processor (coarse or fine, up to you).  Pour the ground almonds out into a medium bowl.
  2. Pour the date mixture into the food processor and puree.  Pour the mix out into the almond bowl and stir to combine with a wooden spoon.
  3. Preheat the oven to 325 degrees F and oil a mini muffin tin (24 muffin capacity).
  4. Grab crust pieces about half the size of your thumb and gently push into the base of each mini mold, then push up the sides evenly.
  5. Bake for 15 minutes, or until edges have darkened a bit.
  6. Remove from oven and let rest for 10 minutes before removing from the mold and letting cool completely on wire racks.
  7. Place crusts on a large plate or tray and gently spoon strawberry yogurt into the center of each tart.  Freeze the tarts.  
  8. Remove from the freeze and top each tart with a large dollop of lite cool whip.  Serve.


The crust recipe is a lightly edited version from Deliciously Ella.


Monday, July 6, 2015

mini tart cups


These mini tart cups are so cute and easy.  They are the perfect snack size, and can be made in so many flavors and varieties!  All you need is any sugar cookie, cracker, or shortbread dough that can be rolled out.  I used a biscuit cutter with a scalloped edge because it makes the tart edges prettier.


Gather up your favorite dough recipe (that can be rolled out), a muffin tin, and a biscuit cutter slightly bigger than the muffin tin base.

Roll out your dough fairly thin because it will puff up a bit when it bakes, and you want plenty of room for tart filling!  I should have rolled this batch a bit thinner, but they still worked fine.  Just don't roll your dough CRAZY thin, because you want the tart crust sturdy enough to support the weight of your filling.


Use your biscuit cutter and cut out the dough in slightly bigger circles than the bottom of the muffin tin openings.  Spray the muffin tin well with cooking spray before you lightly press the dough in and they'll pop out easily after they're baked.  Grab a fork and poke 3-4 times on the tart bottoms to prevent them from puffing up too much.


I baked this batch for 18 minutes, then let them sit for about 2 minutes before I removed the tart cups to a wire rack to cool completely.

You can easily make these a day before you need them if you store them in a cool dry place.  I made these ahead of time, and I made the custard filling the day before as well.  I piped the custard into the cups right before I needed them and topped them with strawberries and blueberries.  So easy!  I love these tarts.  They taste yummy (seriously, I need an intervention to stop eating them all!), they were really easy, you can make them in advance, and they look super fancy.


Tarts are great for parties because you can just grab them and you don't need a fork or even a plate.  I love grab and go foods!  I've already got a bunch of tart variations I want to make too.  One the top of my list?

  • shortbread cup + chocolate pudding + whipped cream dollop
  • graham cracker cup + chocolate ganache or pudding + toasted marshmallow
  • chocolate sugar cookie cup + strawberry Greek yogurt
  • sugar cookie cup + strawberries + whipped cream dollop
  • peanut butter cookie cup + Reese's peanut butter cup


mini tart cups

ingredients:

  • 2 cups AP flour
  • 2 tbsp sugar
  • 1 tsp salt
  • 1/2 butter, cut into small pieces
  • 1 egg
  • 3 tsp milk

directions:

  1. In a food processor, blend the flour, sugar, salt, and butter until it resembles coarse sand.   Pulse in the egg, then add in the milk and pulse until the dough comes together.
  2. Wrap the dough in plastic wrap and refrigerate for 30 minutes.
  3. Preheat the oven to 350 degrees F.  Flour you counter and roll on the dough fairly thin.  Use a biscuit cutter slightly larger than the muffin tin base and cut out your dough.  Gently press into the greased muffin tin and lightly stab 3-4 times with a fork.
  4. Bake for 18 minutes, until the edges are lightly golden.  Remove from the oven and let sit for 2 minutes before removing the cups onto a wire rack to cool completely.
  5. Once cooled, fill cups and serve, or set unfilled cups aside in airtight container in a cool dry area.  Cups can always be filled and served the next day.  Once filled try to consume the cups within 3 days or the cups will start becoming soggy on the inside.

Saturday, June 13, 2015

plum ice cream


I love fruit in general, and plums are no exception.  They are sweet and tart, and a very convenient tiny size.  However, I can really only make so many plum tarts and pies before I get REALLY bored, and I have a ton of plums right now, thanks Jenna!  Have I mentioned before how awesome it is to have generous relatives with fruit trees?  Anyway, I was searching for new plum recipe ideas on Pinterest (of course!) and I saw plum ice cream.  None of the recipes were exactly what I wanted, so I made up my own.  I'm so glad I did!  It turned out great.  Sweet, tart, a beautiful consistency, and the most gorgeous color pink I've ever seen.


I just LOVE this color!  No food coloring necessary.  Puree all the ingredients and refrigerate for 2 hours. THen just churn in an ice cream maker, and freze.  Soo easy!


I love the consistency of this ice cream.  Some ice creams have to sit on the counter for 5 minutes before they are soft enough to scoop, and some ice creams are so soft they they are practically liquid.  This ice cream is a perfect medium.  Soft enough to serve immediately out of the freezer, but holds it shape post scooping for plenty of time before melting.


plum ice cream
makes 1 1/2 quarts

ingredients:

  • 2 cups of plum puree
  • 3/4 cup sugar
  • 1 tsp vanilla extract
  • 1 cup strawberry yogurt
  • 1 1/2 cup heavy whipping cream
directions:
  1. Puree all the ingredients together in the blender.  
  2. Refrigerate the puree for 2 hours.
  3. Churn in an ice cream maker according to its directions.  Mine needed 25 minutes and perfectly filled the 1 1/2 quart capacity.
  4. Scoop ice cream out into a freezer safe container with an air tight lid.  Freeze at least 1 hour.
note: I pureed lots of plums by themselves.  I poured out the excess after the needed 2 cups and froze for smoothies later.  I then added in the rest of the ice cream ingredients and pureed.


Friday, May 29, 2015

homemade healthy fast food


We don't eat fast food very often.  It's usually a special treat, or a "well, we're already out of the house, starving, and have no food at home".  Of course you wouldn't know it by talking to Liam.  He acts like we go all the time, and will point out every "Donald's" location he sees.

I'm not really a fan of fried foods, and I try to make everyone happy with their food, so I thought I'd make some healthy versions of fast food instead.  I came up with


  • baked chicken nuggets
  • baked fries
  • chocolate covered strawberry shake (smoothie)

I used sweet potatoes for this recipe, they're just what I had on hand.  Russet potatoes or yams could be used instead.  Whatever you prefer.

Peel the potatoes and slice them up.  I like mine like steak fries.  Bonus if you cut them like steak fries because they take the same cooking time as the chicken so you can bake them for the same time.


Once the potatoes have been cut stick them into a freezer bag and season.  This makes the seasoning distribution so much more even.


I always let the kids shake the bag.  Next time I might have to video it.  They get really into it!


Classic breading station for the chicken.  Get a bowl each for flour, beaten egg, and seasoned breadcrumbs.  Work left to right covering fresh defrosted chicken pieces one at a time in the contents of each bowl.  Try to keep your fingers out of the contents as much as possible or you'll end up with "monster hands".  Liam thinks that part is hilarious.  Place the chicken pieces on a parchment covered baking sheet when they are ready.


 Once the potatoes and chicken are prepped, bake together at 375 degrees for 30 minutes.  If you want to you can broil them for 2 minutes at the end for extra crispiness.


This is one of Liam's favorite ways to have chicken.  I only make it this way occasionally.  I don't want him to get too used to the idea of "fast food style".  :)

You know how people say that a great way to get kids to eat healthy is for them to cook their own food?  Liam's hands down favorite chicken is when I give him carte blanche of my spice drawer and let him season a whole chicken breast for himself.  My little string bean will inhale the whole thing that way!  Crazy.


This meal all came about from a few days ago when we had NO groceries at home, we were doing a million errands around town, and Liam was being an angel (I know, right?).  I promised him I'd split a milkshake with him on our way home, but the closet McDonald's milkshake machine was broken.  Liam was devastated, so I told him I'd make him one at home.  He had his heart set on strawberry, and I figured that would be the easiest flavor to make healthy anyway... 


baked fries

ingredients:
  • 4 medium potatoes (russets, yams, or sweet potatoes)
  • 1 tbsp olive oil
  • 1/2 tsp salt
  • 1/4 tsp black pepper
  • 1/4 tsp garlic powder
  • 1/4 tsp oregano
directions:
  1. Preheat oven to 375 degrees F.  Peel potatoes and slice steak fry style
  2. place potatoes slices in freezer bag with oil and seasonings. Shake well.
  3. Place on a parchment lined baking sheet.  Bake 30 minutes.
  4. (optional) broil for 2 extra minutes for crispiness.

baked chicken nuggets

ingredients:
  • 3 defrosted chicken breasts, cut into pieces
  • 1 1/2 cups AP flour
  • 2 eggs, well whisked
  • 1 1/2 cups seasoned breadcrumbs (I like Italian seasonings)
  • 2 tbsp parmesan
  • 2 tbsp olive oil
  • garlic, salt, pepper, basil, chili powder to taste
directions:
  1. Preheat oven to 375 degrees F.  Set out 3 bowls in a row.  Left to right fill with flour, whisked eggs, and breadcrumbs with seasonings and olive oil.
  2. Have a parchment covered baking sheet set out in easy reach of the bowls.
  3. Quickly dredge chicken in the bowl contents left to right, keeping your fingers as clean as possible.  Place finished chicken on baking sheet.
  4. Bake for 30 minutes.  Outside should be golden.

chocolate covered strawberry "shake"

ingredients:
  • 12 oz. strawberry Greek yogurt
  • 3 tbsp unsweetened cocoa powder
  • 2 cups frozen strawberries
  • 1 cup milk
  • 1 tbsp honey (optional)
directions:
  1. Place all ingredients in blender and blend!  Pour and drink. Depending on the sweetness of the strawberries, honey may or may not be utilized.


Monday, May 4, 2015

strawberry lemonade cake


I was already planning on making a chocolate cake for Mupma's birthday, so I wanted the second cake I made to be the total opposite.  Light and fruity.  What could be better than a strawberry lemonade cake?  Sweet, tart, light, fluffy.  Total heaven.

Have I mentioned already that I'm POSITIVE there is nothing scarier in the entire world then transporting cakes?  Just imagine trying to drive somewhere with a big gift, two wiggly boys, and TWO cakes?  One of which was on a pedestal?  Completely terrifying.  Luckily Jeff is awesome.  He put one cake at his feet (with a cover over it just in case!) and held onto the pedestal cake while I drove like two miles an hour.  Or, at least it felt like it.  It was the biggest relief ever to get to my parent's house and set the cakes down.


Once the cake has been made and cooled completely, frost the bottom layer and lay thinly sliced strawberries over the top and tightly as possible.  You want to get a good strawberry chunk in every bite.  Make sure the strawberry slices have been washed and dried thoroughly before slicing.


There is nothing better than a nice fresh strawberry!


Place the second layer of cake over the strawberry slices and finish frosting the cake.  This cake came out of the oven with fairly flat tops so I didn't need to slice off any puffy tops.  I just left them as-is.  If you want to place strawberries like this around the edges of the cake, just make sure they have been stemmed and thoroughly rinsed and dried.  Also, you might want to do this part as close to serving as possible.  You really don't want to deal with the possibility of them dripping juice down the side of the cake, or sliding around on top.  No thank you!  Also, this cake should be refrigerated as soon as you finish frosting.


I just love a nice fluffy fruity cake.  It is just such a classic look.


The worst part about there being two cakes at a party is that you feel like you need to try both of them!  I love my chocolate cake, so I needed a sliver, but I was trying out new recipes with this strawberry lemonade cake, so OF COURSE I needed a little piece of it too.  *sigh*  I suppose this is a great example of first world problems?  :)


If you saw my previous post you've already seen this photo.  I made both cakes for my Mupma's birthday party.  Because you need options when it comes to cakes.

Also, I don't believe there is a four year old alive who doesn't try to help blow out birthday candles when the chance presents itself.  Am I right?


Lemon Velvet Cake
recipe from Rock Recipes
http://www.rockrecipes.com/lemon-velvet-cake/
Prep time
Cook time
Total time
Developed from an outstanding Red Velvet Cake recipe, this lemon cake is a perfectly moist and tender crumbed cake with a lemony buttercream frosting. An ideal birthday cake for the lemon lover in your life.
Ingredients
  • 1¼ cups sifted all purpose flour
  • 1½ cups sifted cake flour
  • ½ teaspoon baking soda
  • 1½ tsp baking powder
  • 1 teaspoon salt
  • 1½ cups sugar
  • ⅔ cup vegetable oil
  • ⅓ cup vegetable shortening at room temperature
  • 1 tsp good quality vanilla extract
  • 2 tsp pure lemon extract
  • 3 large eggs
  • 1½ cups buttermilk
  • zest of two small or one large lemons, grated and finely chopped
Instructions
  1. Grease and flour 2 nine inch round cake pans and line the bottom with 2 circles of parchment paper. Sift together both flours, baking soda. baking powder, salt and sugar, Set aside.
  2. In the bowl of an electric mixer beat together the vegetable oil, shortening, vanilla and lemon extract. Beat well at high speed with whisk attachment until light and fluffy
  3. Beat the eggs in one at a time.
  4. Fold in the lemon zest.
  5. Fold in the dry ingredients alternately with the buttermilk.
  6. I always add dry ingredients in three divisions and liquid ingredients in 2 divisions. It is very important to begin and end the additions with the dry ingredients. Do not over mix the batter. As soon as it has no lumps in the batter, pour into the two prepared 9 inch cake pans.
  7. Bake at 325 degrees F for 30-35 minutes or until a wooden toothpick inserted in the center comes out clean. Allow the cake to cool in the pans for 10 minutes before turning out onto wire racks to cool completely.


Fresh Strawberry Frosting
(I kinda made this recipe up, and it worked fine, but frosted cake should be refrigerated until ready to serve, and if you want the frosting to be extra stiff add an extra 1/2 to 1 cup of powdered sugar)

Ingredients:
  • 2/3 cup fresh strawberried, stemmed and sliced
  • 1 cup butter, room temperature
  • 4 1/2 cups powdered sugar (add 1/2 to 1 cup more for firmer frosting)
  • 2 tsp vanilla extract
Directions:
  1. Puree the strawberries.  Set aside.
  2. Add butter to stand mixer and beat several minutes until white and creamy, stopping to scrape down the sides as needed.
  3. Add 1 cup of powdered sugar to the butter and beat until creamy.
  4. Add 1 more cup of powdered sugar and beat again until creamy.  
  5. Add the strawberry puree and beat.
  6. Add remaining powdered sugar and vanilla and beat until fluffy.  
  7. For extra thick frosting add in additional powdered sugar, otherwise, frost the cake.  
note: There will be about 2 cups leftover frosting unless you frost very thickly.  If desired add stemmed strawberries in a ring around the top edges like I did.  If you are planning on doing that, wait until the last second and make sure the strawberries are very well dried.  Otherwise strawberry juice might start dripping down the side of you cake.

Saturday, April 25, 2015

classic strawberry ice cream


I LOVE ice cream.  I really love ice cream when I can make whatever flavor I want (can you say mint gummy bear?) whenever I want.  I love it even more when its free of unnecessary chemicals and preservatives and still tastes yummy.

This strawberry ice cream totally fits the bill.  Plus, who doesn't love being able to tell people they made ice cream (custard base and all) from scratch?  It makes it sound like you're a kitchen whiz, but really, its SO easy!

I love this ice cream recipe because its a great simple base with pureed strawberries added.  You could change the mix-in(s) to make so many different flavors.  Next time I'm adding melted chocolate.  I can't wait!

This recipe does use lots of egg yolks.  It's really the only reason I don't make ice cream more often.  I run out of eggs really fast around here, and sometimes I just don't have enough.  This time it was perfect though.  I had just made about a million sugar cookies for Liam's birthday and my royal icing uses egg whites instead of meringue powder.  I saved the yolks to make ice cream!  Other ways to utilize the whole egg include using the whites for omelets, baking, etc.


Begin by pouring 2 cups each of whipping cream and milk (I used 2%), and 1 cup of granulated sugar into a medium sized saucepan on medium heat.  Stir gently and allow to simmer.


Meanwhile, puree the washed and stemmed strawberries with 1/2 cup of sugar.  My ice cream was a nice light strawberry flavor, but if you want to kick up the strawberry part more, add an extra cup of them.


Whisk the egg yolks and vanilla together in a small bowl.


Once the yolks are smooth and the milk mixture has simmered, ladle a cup of the milk mixture slowly into the yolk mixture, whisking well.

Pour the yolk bowl contents slowly into the milk mixture and whisk well.  Continue to simmer about 5 more minutes, until thickened slightly.

Remove from heat and stir in the strawberry puree.

Pour the mixture into a preferably glass bowl and place a piece of plastic wrap directly over top to prevent it from getting a skin.  Allow the mixture to cool completely.


Pour mixture into a prepped ice cream maker and churn according to instructions.  I churned mine for 25 minutes.  My machine says not to add more than 1 1/2 quarts of liquid into the machine, which is exactly how much this recipe makes.


My machine is crazy loud, so I like to stick it in a far corner of my kitchen and place a large dish towel over top.  Anything to drown it out!


Scoop the ice cream out of the machine and into a large freezer safe container with an airtight lid.  Go ahead and eat it now if you want, but I like my ice cream very firm, so I freeze it at least one hour before eating.


Ice cream doesn't last long in this house, even if we only take tiny portions!


There's nothing like fresh fruity creamy ice cream on a nice warm day!


I love that this recipe is so simple, and only uses a short ingredient list.  Its also the creamiest ice cream I can remember eating for a long time.  I think I need to go make some more.  Bye!


classic Strawberry ice cream
makes 1 1/2 quarts

Ingredients:
4 cups strawberries, washed and stemmed
1 1/2 cups granulated sugar
2 cups whipping cream
2 cups milk (I used 2%)
1 tsp vanilla extract
8 egg yolks

Directions:


  1. In a medium saucepan on medium heat, combine the whipping cream, milk, and 1 cup of sugar.  Bring to simmer.  Meanwhile, use a blender to puree the strawberries and 1/2 cup sugar.
  2. Whisk the egg yolks and vanilla in a bowl until smooth.  
  3. Once the milk mixture has simmered, ladle a cup of it slowly into the egg yolks and whisk smooth.
  4. Pour the egg mixture into the saucepan and whisk to incorporate fully.  Simmer for several minutes until the mixture just begins to thicken.
  5. Remove from heat and stir in the strawberry puree.
  6. Pour the liquid into a large bowl (preferably glass) and cover directly with plastic wrap to prevent a skin from forming.  Cool completely.
  7. Pour cooled mixture into an ice cream machine and mix according to instructions.  (I used my ice cream machine for 25 minutes).  Scoop out of ice cream machine and into a seal-able freezer safe container with an airtight lid.  
Note: Ice cream can be consumed directly after churned in the ice cream machine, but I like mine a bit thicker.  I allow mine to sit in the freezer at least one hour after being churned.


If you eat your ice cream directly after being churned this recipe take 2-3 hours to finish, depending on how long your ice cream take to cool completely before adding to your machine.